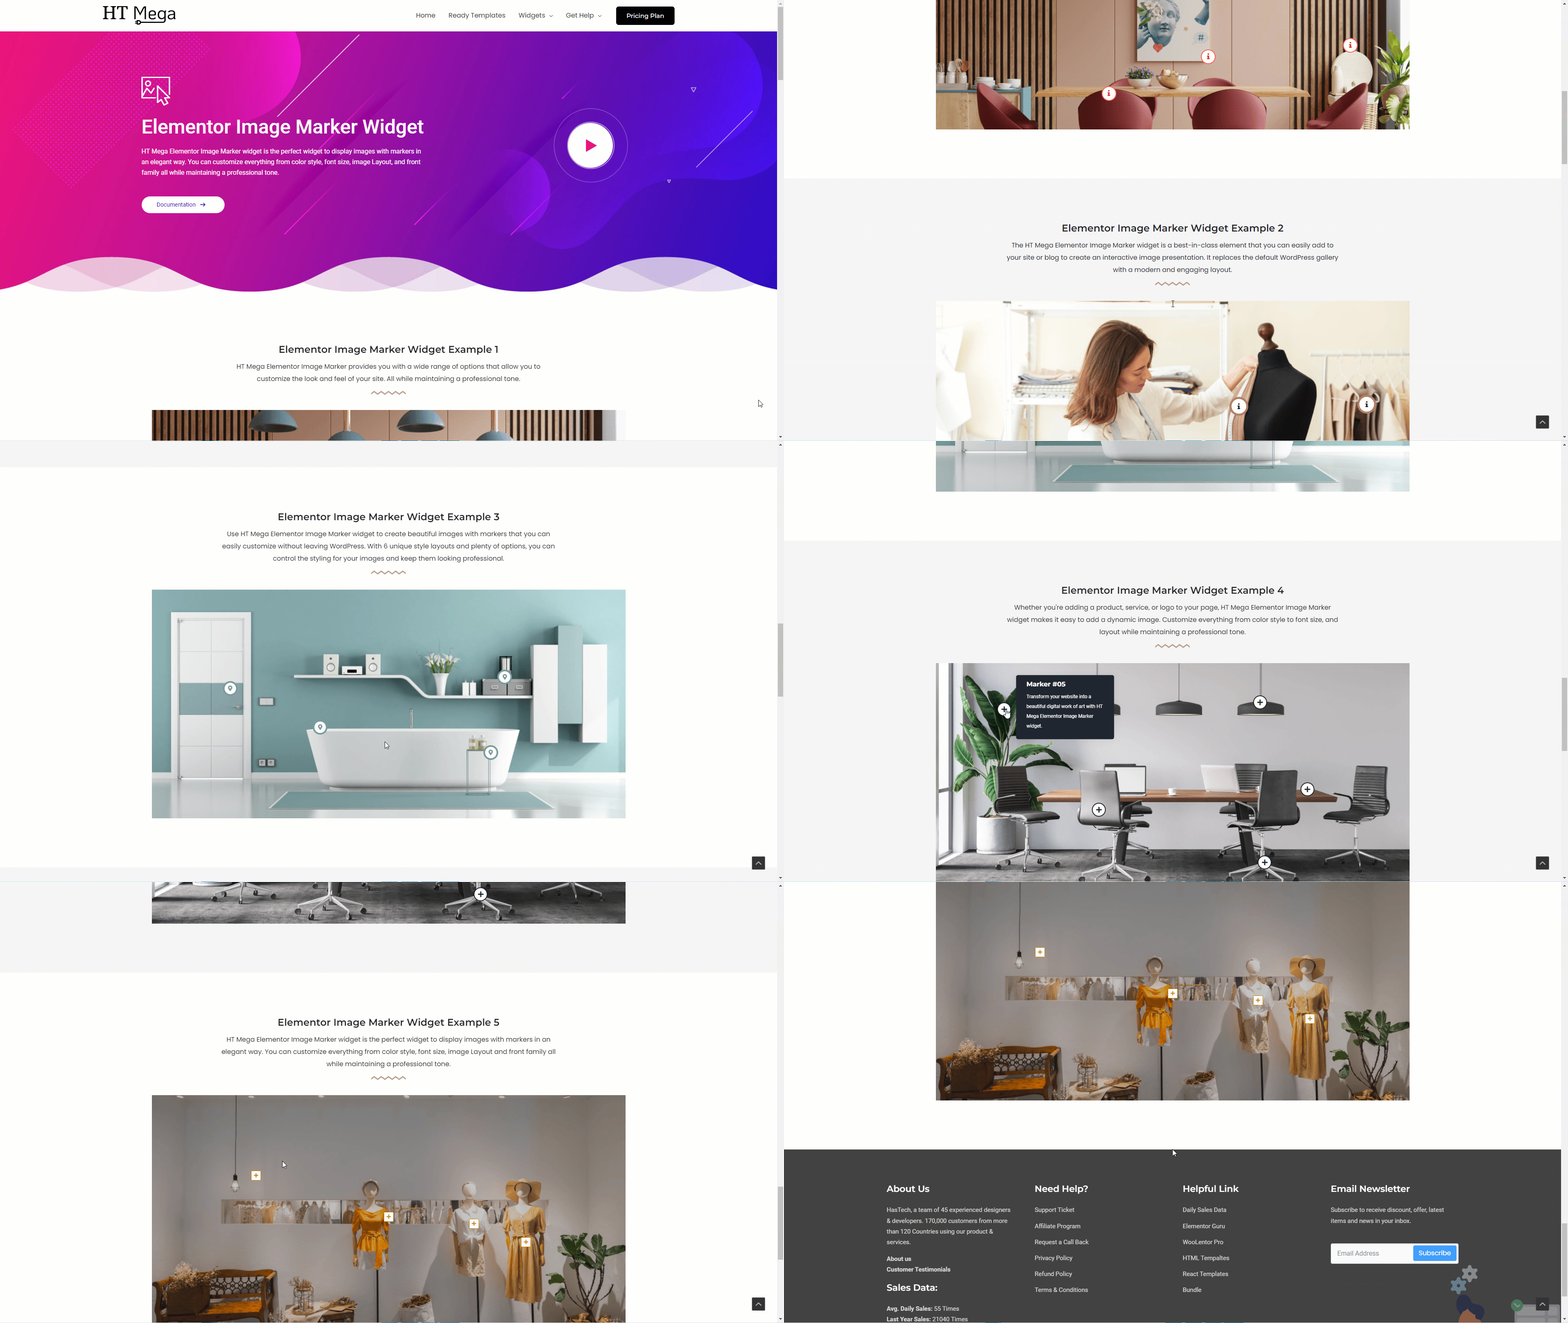
HT Mega Elementor Image Marker widget is the perfect widget to display images with markers in an elegant way. You can customize everything from color style, font size, image Layout, and front family, all while maintaining a professional tone.
How to use an Image Marker Widget of HTMega Addons
You can see the below video to get an insight into how you can use the Image Marker Widget to create beautiful designs. Or you can follow the documentation, whichever you find convenient.
Steps of adding Image Marker Widget
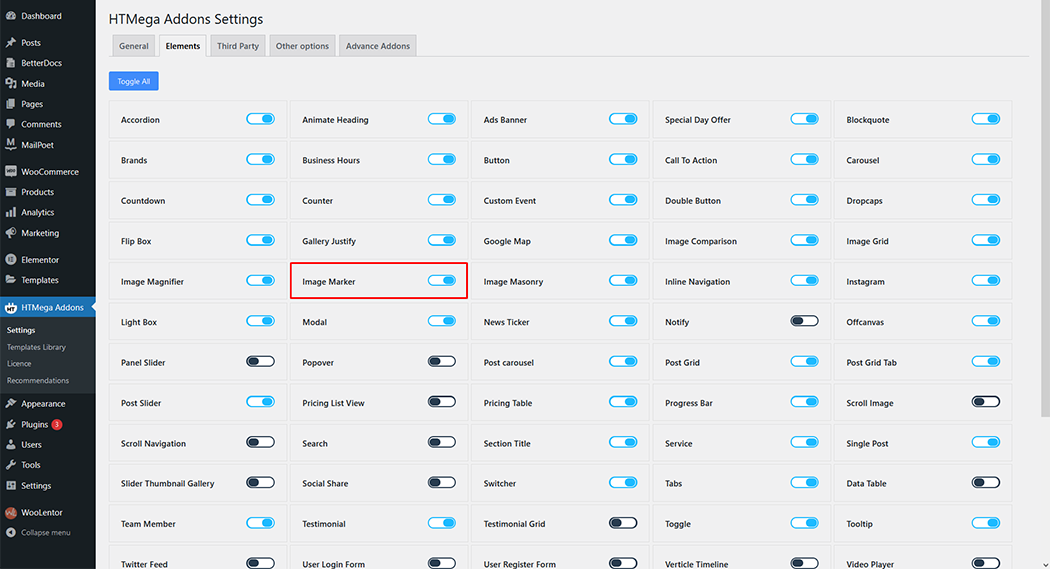
Go to WordPress Dashboard > HTMega Addons > Settings > Elements. From the list of Elements, turn ON the “Image Marker” widget.
Step 1: How to Enable Image Marker Widget?
Step 2: How to use the Image Marker Widget?
To add the Image Marker widget, search by “Image Marker” and use the widget that has the “HT badge”
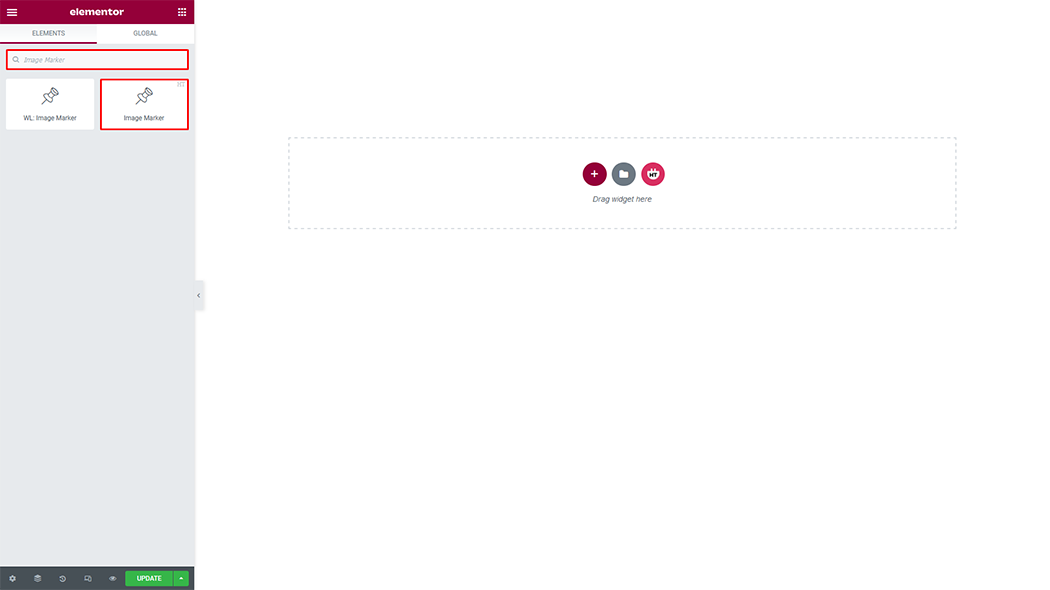
Drag and drop the HT Mega “Image Marker” widget onto the Page Template.
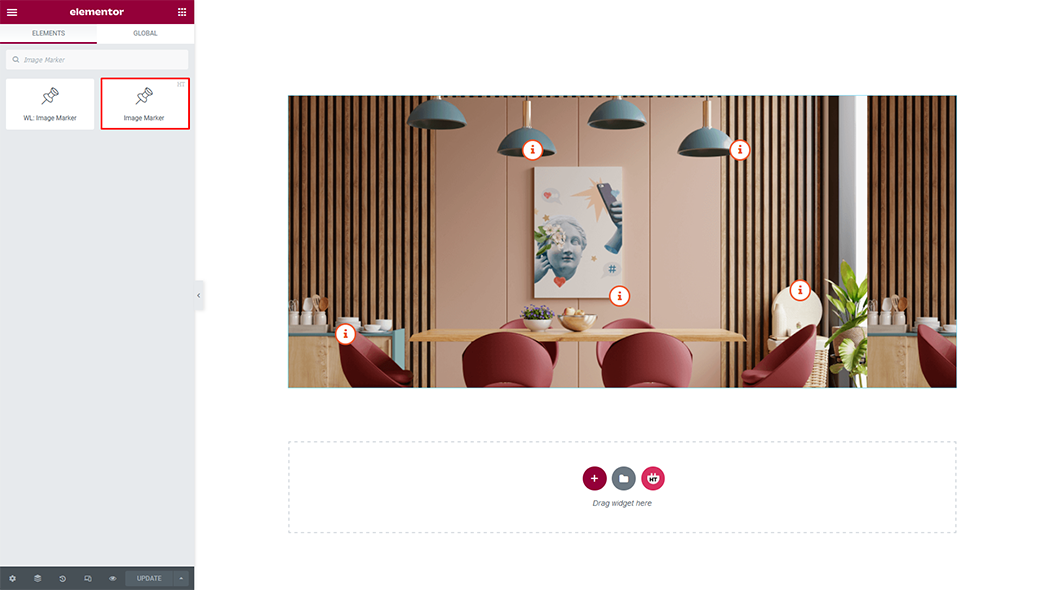
Step 3: How to customize the Image Marker Widget?
Marker: You can customize the Marker as you need
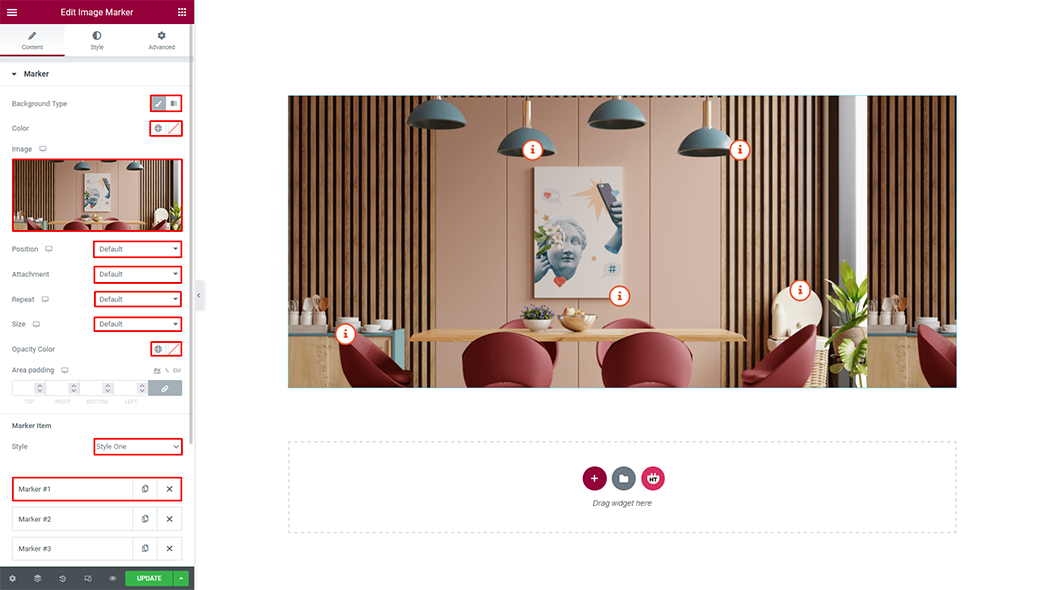
Layout: You can change the layout as you need
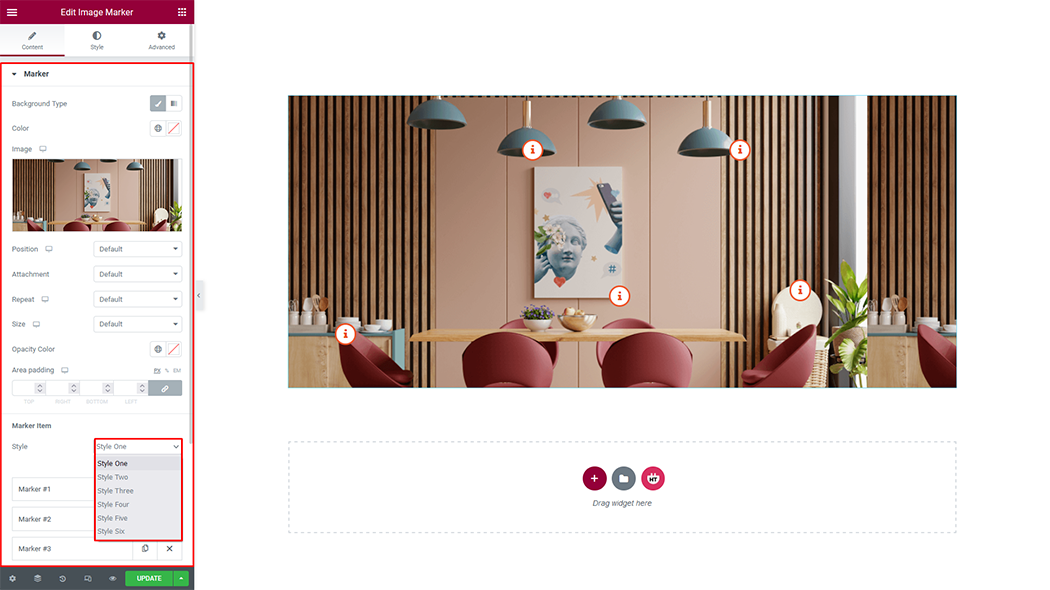
After Expand Marker Item: You can customize the marker Item after expand as you need
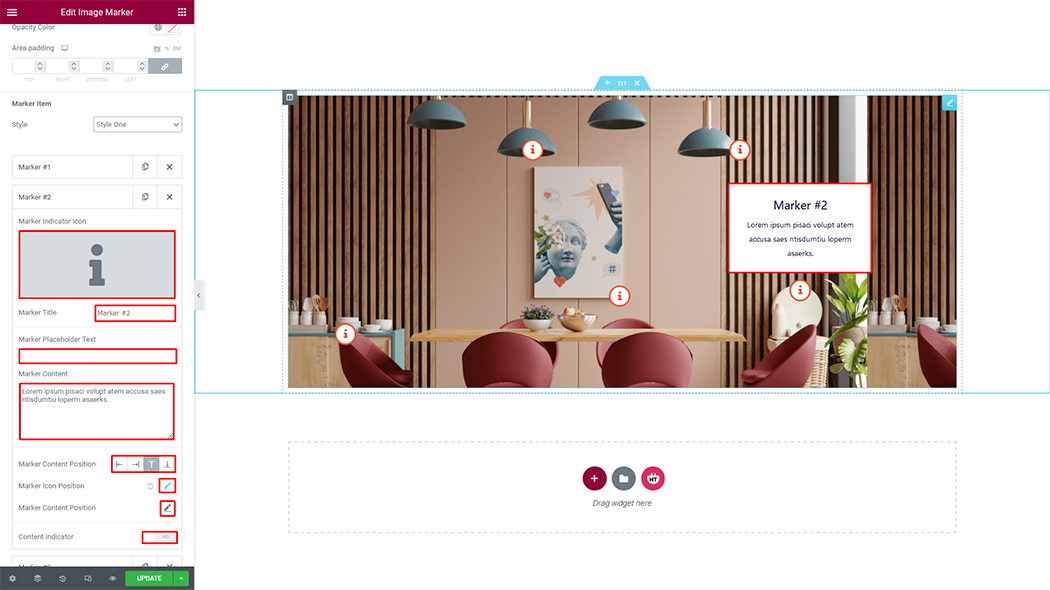
Add Marker Item: You can add marker Item as you need
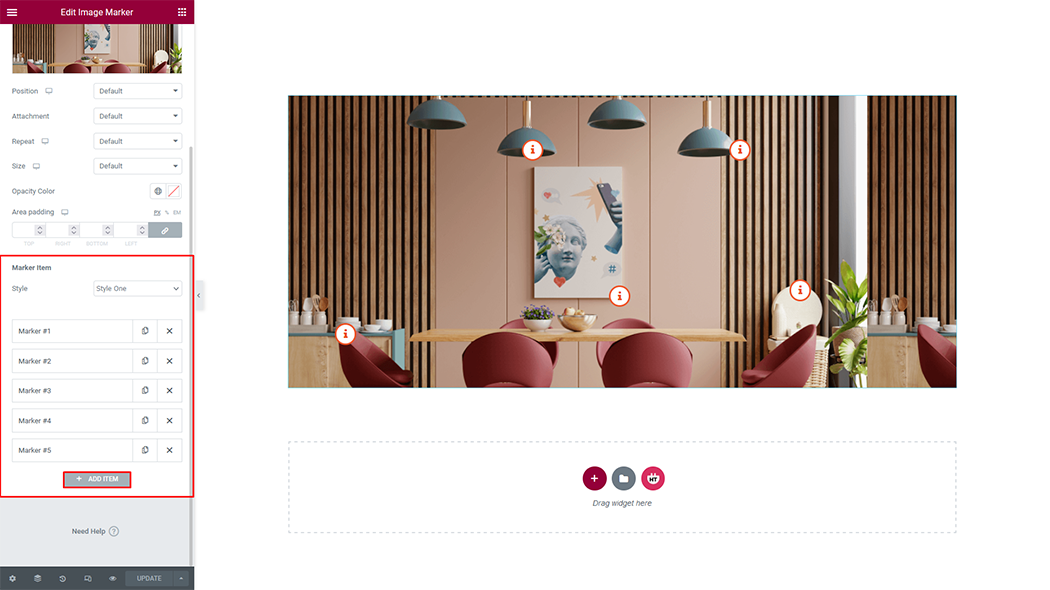
How to customize the Image Marker style
Marker: You can customize the style of Marker as you like
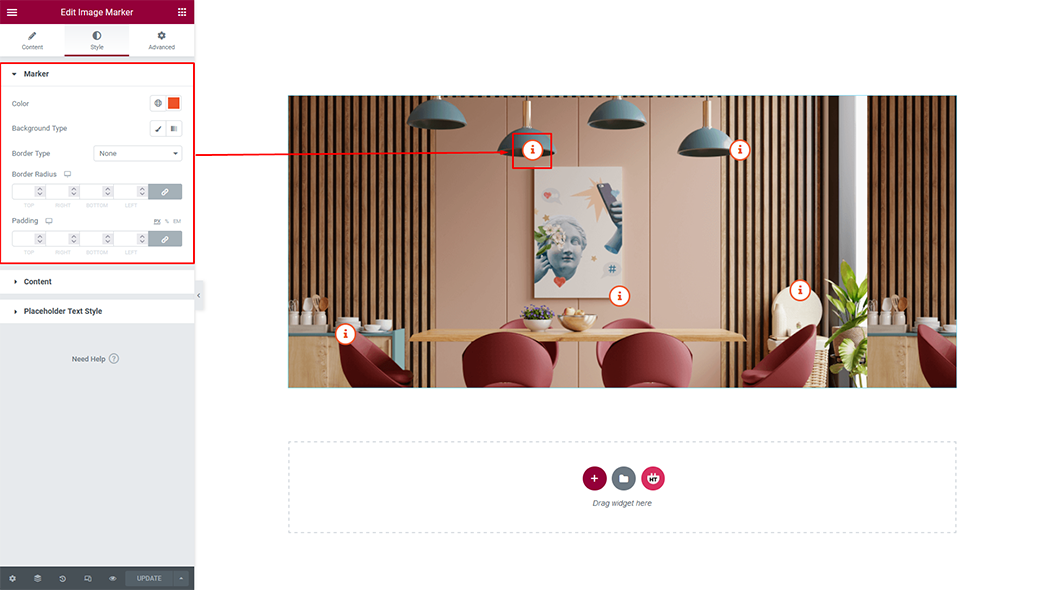
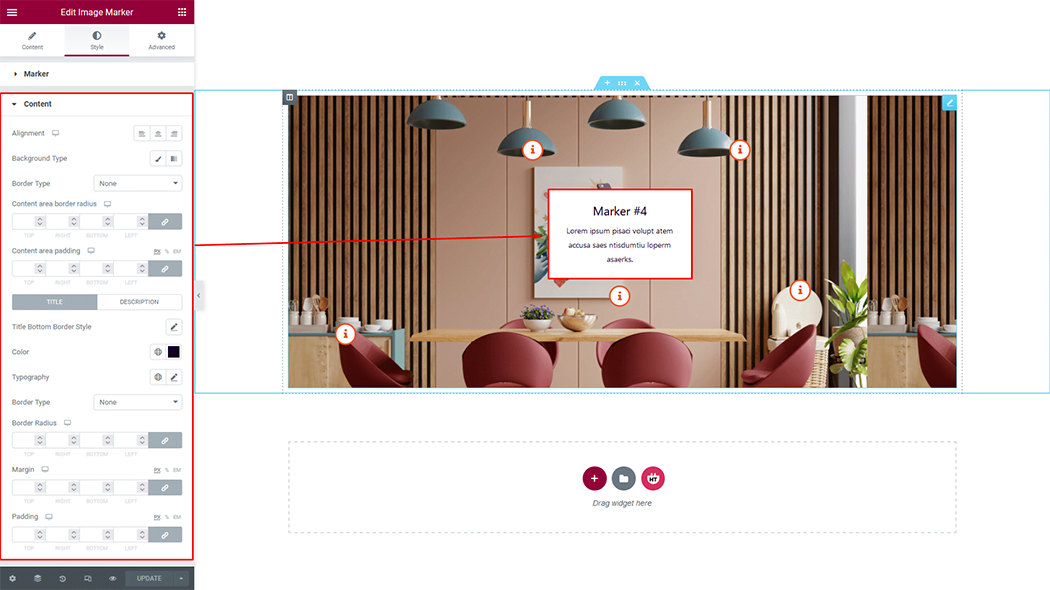
Content: You can customize the style of content as you like
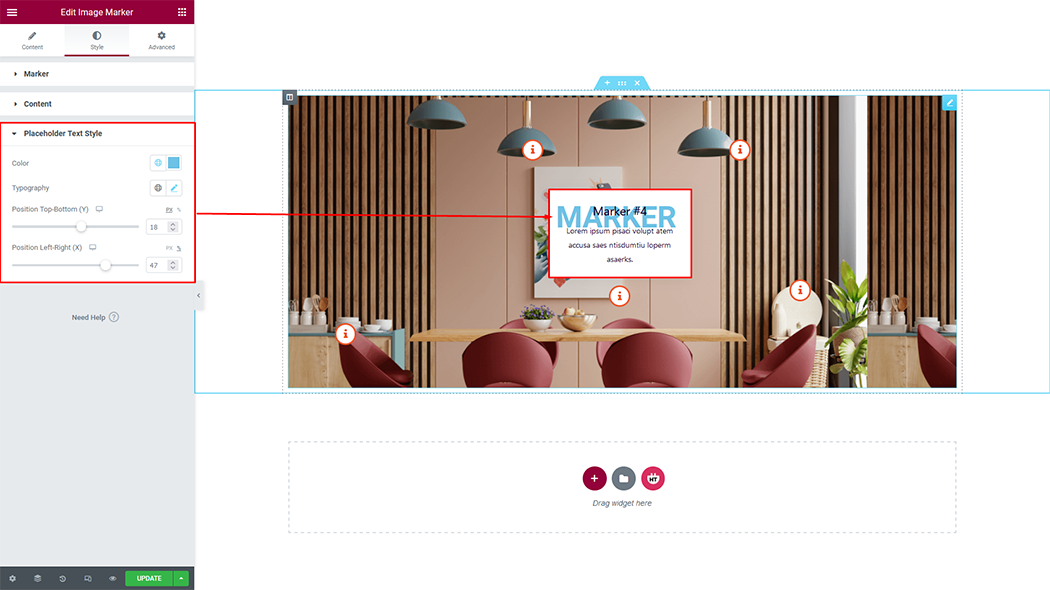
Placeholder Text Style: You can customize the style of placeholder text as you like
Usage Examples
Here are some live use cases for the Image Marker widget. Follow this link to see more Demos
