
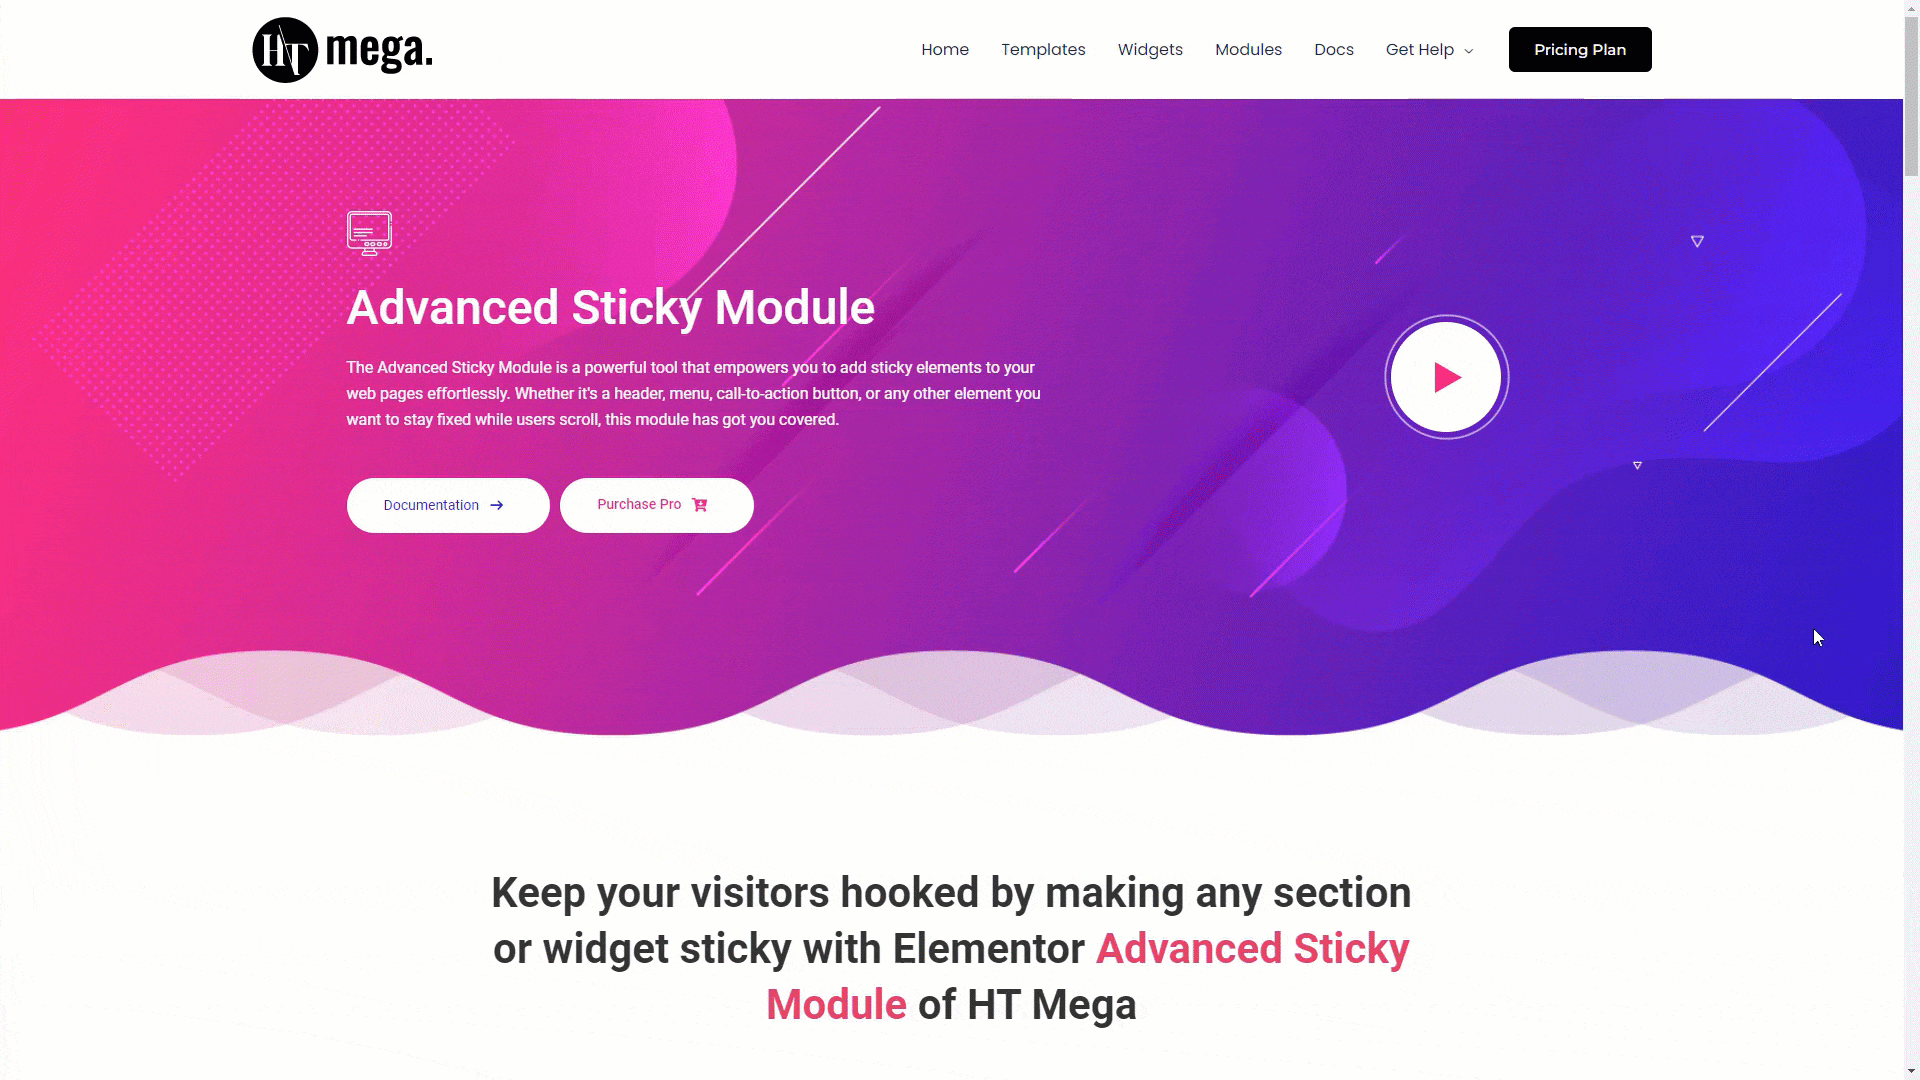
Embrace the power of the advanced sticky module provided by HT Mega, and open the doors to a multitude of advantages for your website. With this cutting-edge module, you’re empowered to effortlessly transform various elements – whether it’s your header, footer, sections, widgets, columns, or even a scroll-up button – into sticky components. These sticky elements stay in view as users navigate through your content, ensuring that crucial navigation menus, buttons, and essential content remain visible, regardless of how far down the page users scroll.
By implementing the advanced sticky module, you’re not just adding a stylish touch; you’re enhancing user experience in a substantial way. As visitors explore your website’s content, they’re met with uninterrupted access to vital information and tools. This leads to improved navigation, increased engagement, and a seamless journey that keeps users engaged from start to finish.
Steps of adding Advanced Sticky
Make sure you have installed and activated the HT Mega Pro.
Step 1: How to Enable Advanced Sticky Module?
Go to WordPress Dashboard > HTMega Addons> Settings > Modules. From the list of Modules, turn ON the “Advanced Sticky” Module.

Step 2: How to Use Advanced Sticky Option?
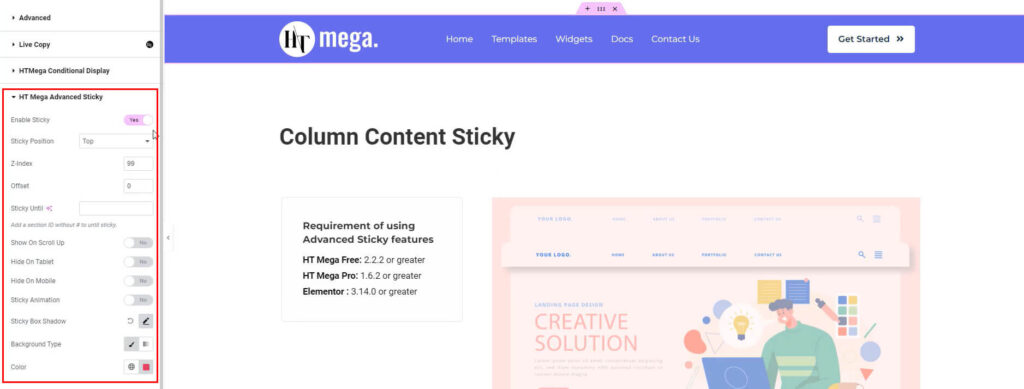
The Advanced Sticky module is a versatile feature that seamlessly integrates with all widgets, including third-party addon widgets, sections, and columns. You can easily access this functionality within the Advanced Tab, providing you with a convenient way to enhance the stickiness and visibility of various elements on your website.

Step 3: How to Add Advanced Sticky Condition
After you enable the advanced sticky module, you will have access to the “Sticky Position, Z-index, Offset, Sticky Until, Show on Scroll up, Hide on Tablet, Sticky Animation, Sticky Box Shadow, Background Type” fields to set the display conditions.
Sticky Position: From here, you can choose where the particular sticky element will appear. There are different positions to choose from, such as top, column, and bottom.
Z-Index: You can easily fine-tune the Z-Index value of the sticky content right from this setting. By adjusting the Z-Index value of the sticky module, you’re effectively controlling how it interacts with other elements. Higher Z-Index values place the sticky content in the foreground, ensuring its visibility over other content, while lower values relegate it to the background.
Offset: From this settings option, you have the ability to set the desired offset value for the sticky module. This means that you can specify a specific distance or pixel value by which the sticky module will be offset from its original position. By adjusting the offset, you can ensure that the sticky module appears exactly where you want it on your webpage, creating a more visually appealing and user-friendly experience.
Sticky Until: This convenient feature allows you to specify the section ID of a particular section until which the sticky content will remain sticky. By defining the desired section ID, you can ensure that the sticky section remains fixed in place and visible to users as they scroll through your webpage.
Show on Scroll up: From here, you can enable or disable the option to show the sticky content when visitors scroll up the page.
Hide on Tablet: From here, you can enable or disable the option to hide the sticky content when visitors browse your website on Tablet.
Hide on Mobile: From here, you can enable or disable the option to hide the sticky content when visitors browse your website on Mobile devices.
Sticky Animation: This option allows you to enable or disable the sticky animation effect. When enabled, the sticky module will smoothly transition into its fixed position as the user scrolls down the webpage. This adds a touch of visual appeal and enhances the overall user experience.
Sticky Box Shadow: Customize the sticky box shadow with color, position, blur, and more for a visually striking effect on your webpage.
Background Type: With this versatile feature, you have the ability to customize the background type of the sticky content. You can choose between the classic option, which provides a solid background color, or the gradient option for a more dynamic and visually appealing effect.
If you opt for the gradient background, you can take it a step further by fine-tuning its properties. You can set the color locations to create smooth transitions between different colors within the gradient. Additionally, you can specify the gradient type, whether it’s linear or radial, and even adjust the angle of the gradient to achieve your desired effect.
Step 4: Update and Preview
Once you have added the condition, simply click on the “UPDATE” button to save these settings. This will ensure that all the changes you made to the sticky content are applied and reflected on your webpage. After updating, take a moment to preview and see how your sticky content looks with the modifications you implemented.
Here we can set the section, column, and widget sticky.
Was this helpful?
Good job! Please give your positive feedback
How could we improve this post? Please Help us.