The Elementor Banner widget in HT Mega is an effective tool to make your website’s banners more interactive and visually appealing. It provides you with 6 impressive banner styles right out of the box.
How to use a Banner Widget of HTMega Addons
You can see the below video to get an insight into how you can use the Banner Widget to create beautiful designs. Or you can follow the documentation, whichever you find convenient.
Steps of adding Banner Widget
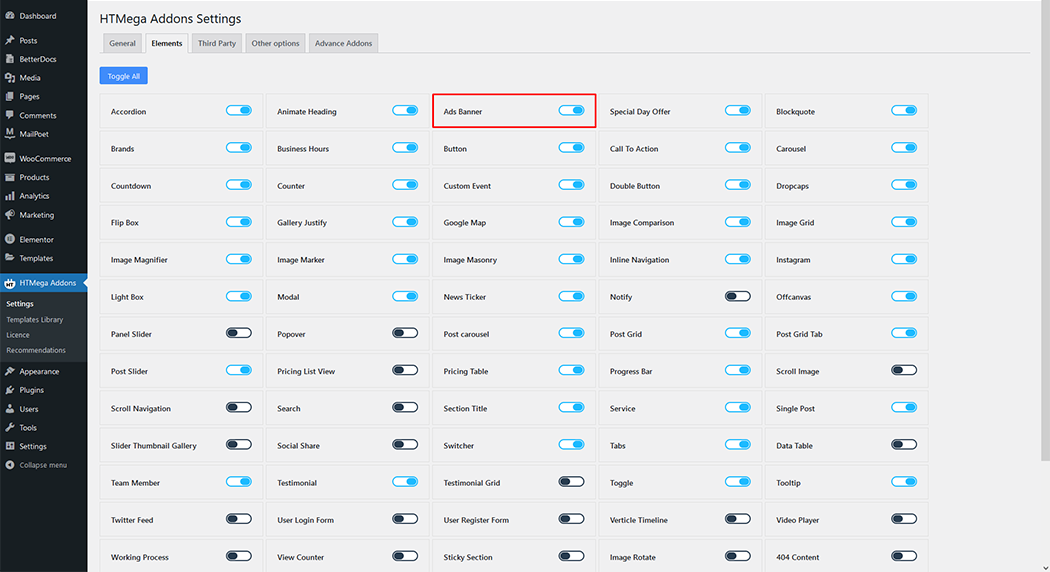
Go to WordPress Dashboard > HTMega Addons > Settings > Elements. From the list of Elements, turn ON the “Banner” widget.
Step 1: How to Enable Banner?
Step 2: How to use the Banner Widget?
To add the banner widget, search by “Add Banner” and use the widget that has the “HT badge”
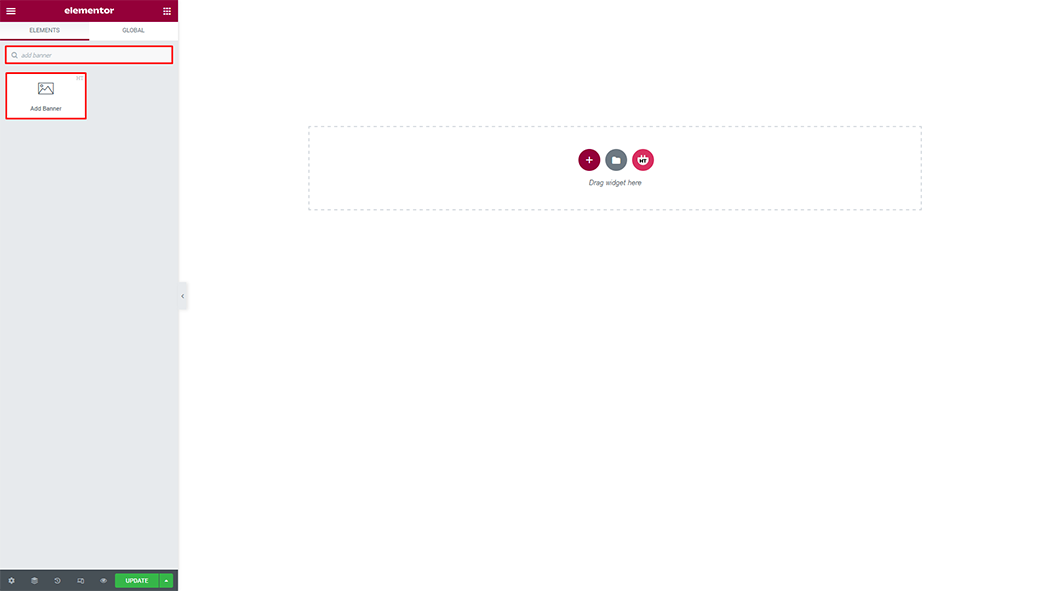
Drag and drop the HT Mega Banner widget onto the Page Template.

Step 3: How to customize the Banner Widget?
Style: Choose the style you need.
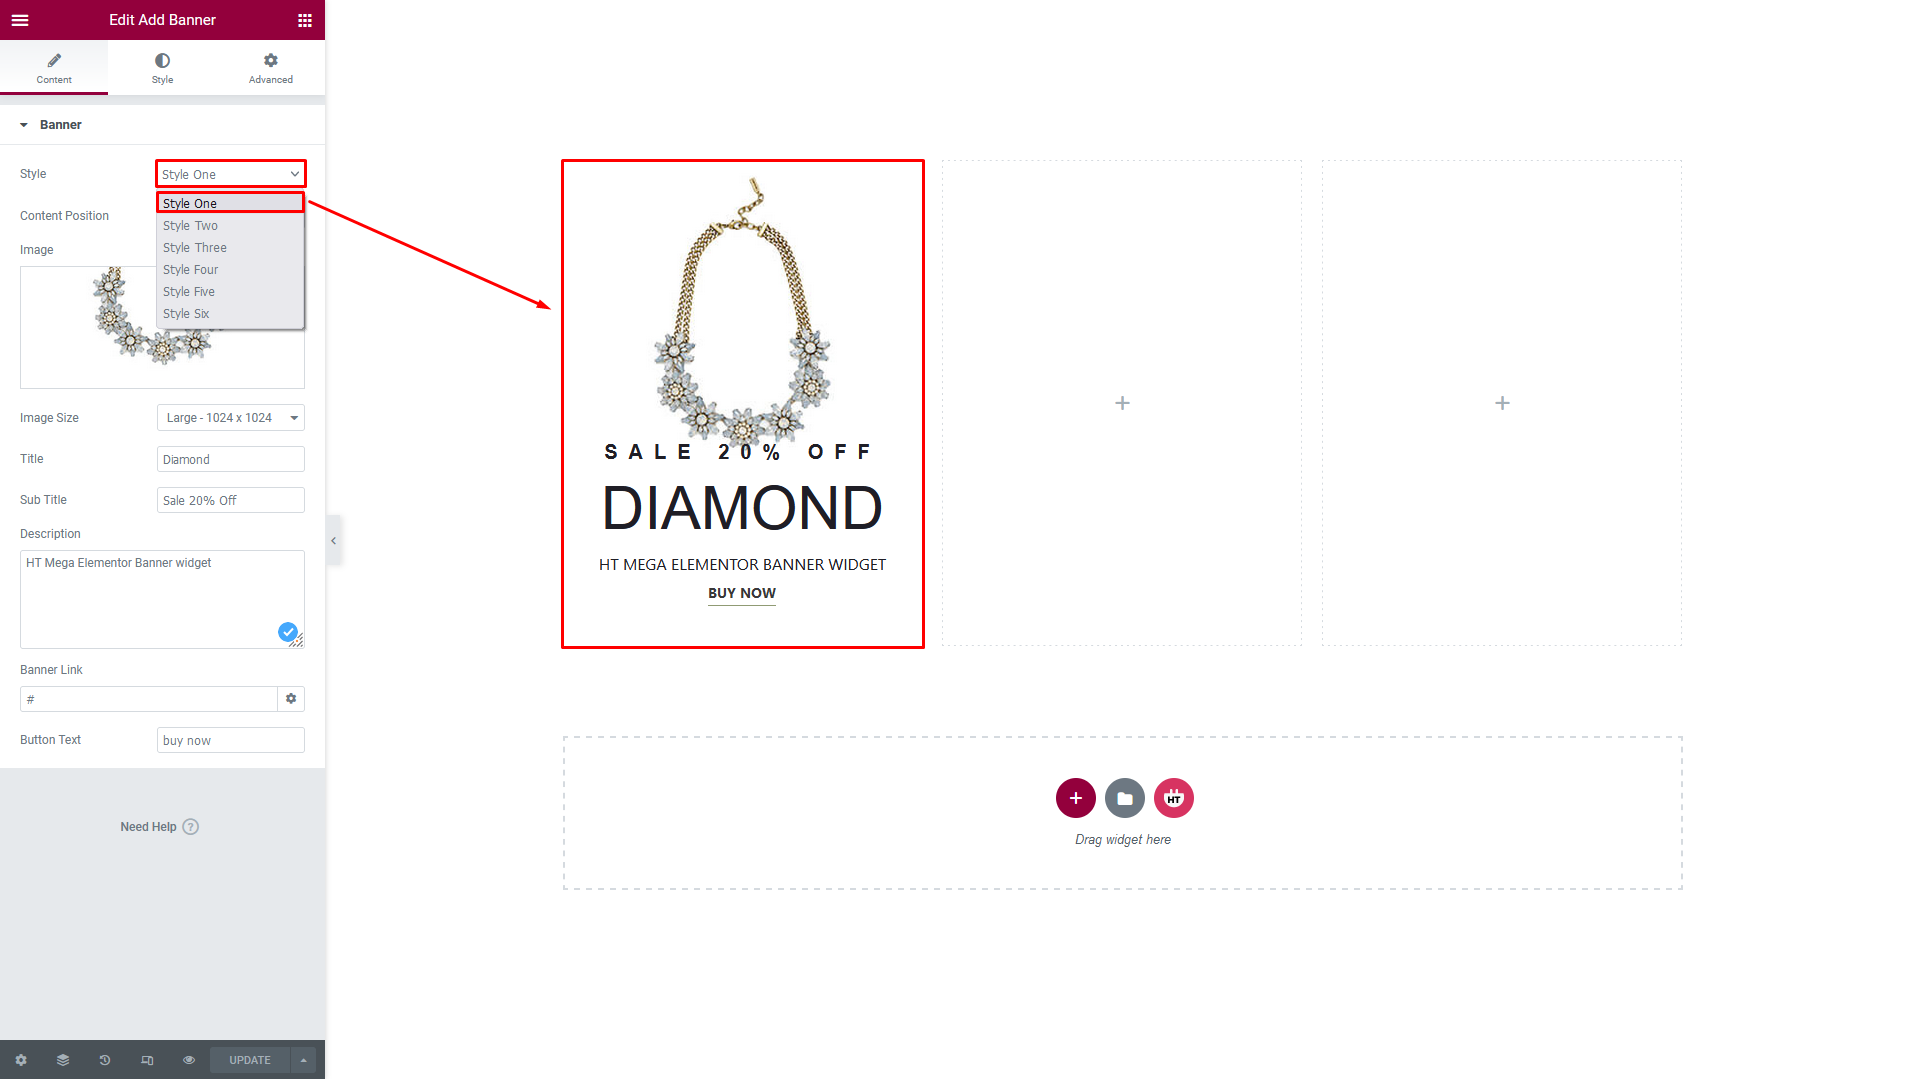
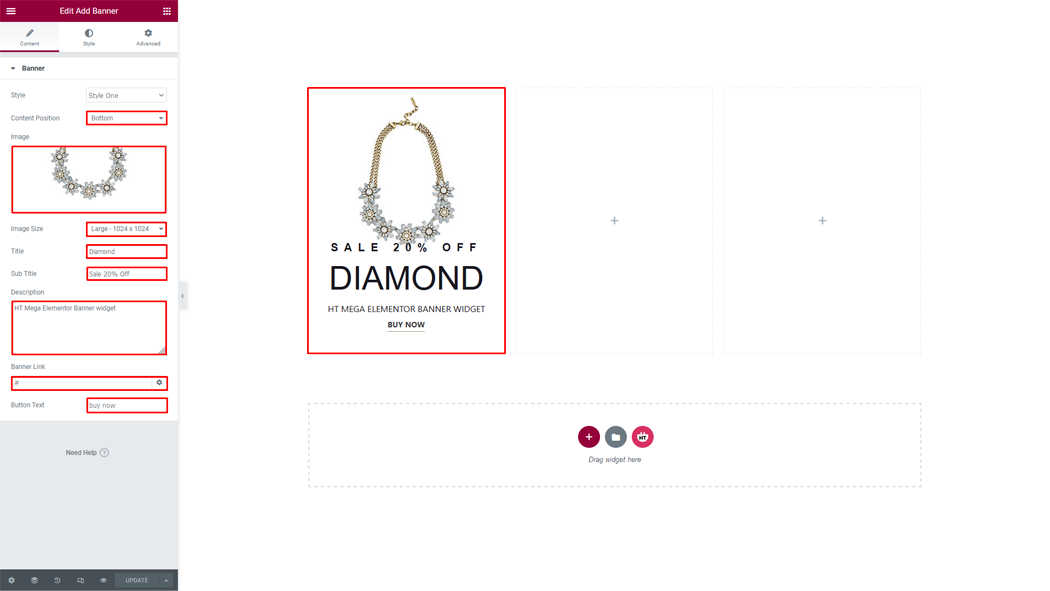
Banner:
Content position: You can change the Content position as you needs
Image: You can change the image as you needs
Image Size: You can change the image size as your needs
Title: You can change title text as your requirement
Sub Title: You can change subtitle text as your requirement
Description: You can update description text as your needs
Banner Link: You can set the banner link in your needs
Button Text: You can change button text as your requirement
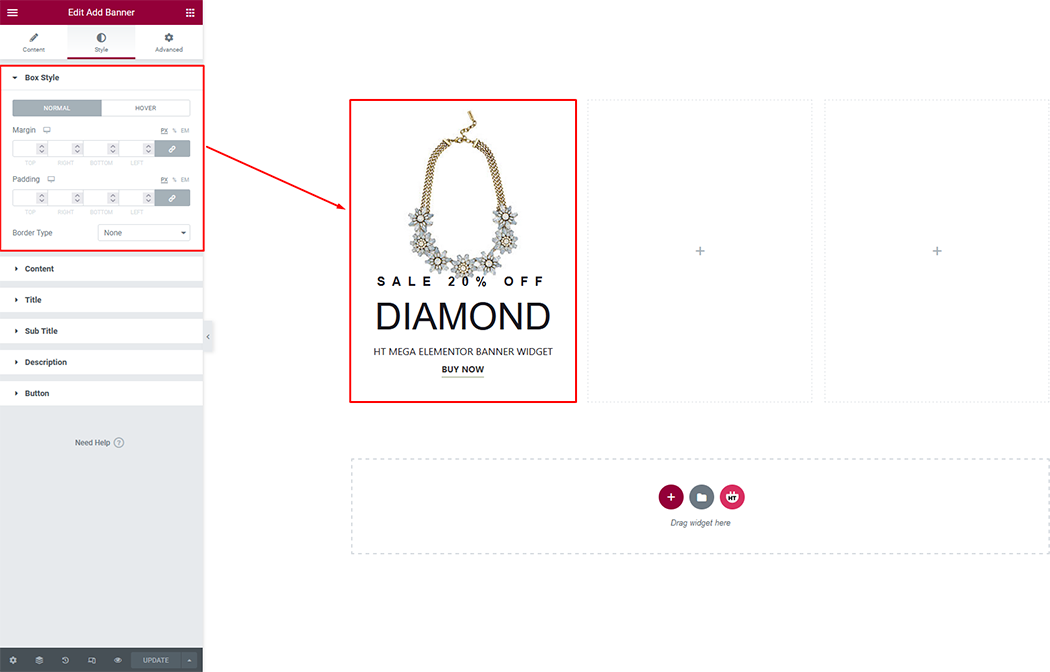
How to customize the Banner style
Box Style: You can customize the style of the box style as you like
Content You can customize the style of content as you need

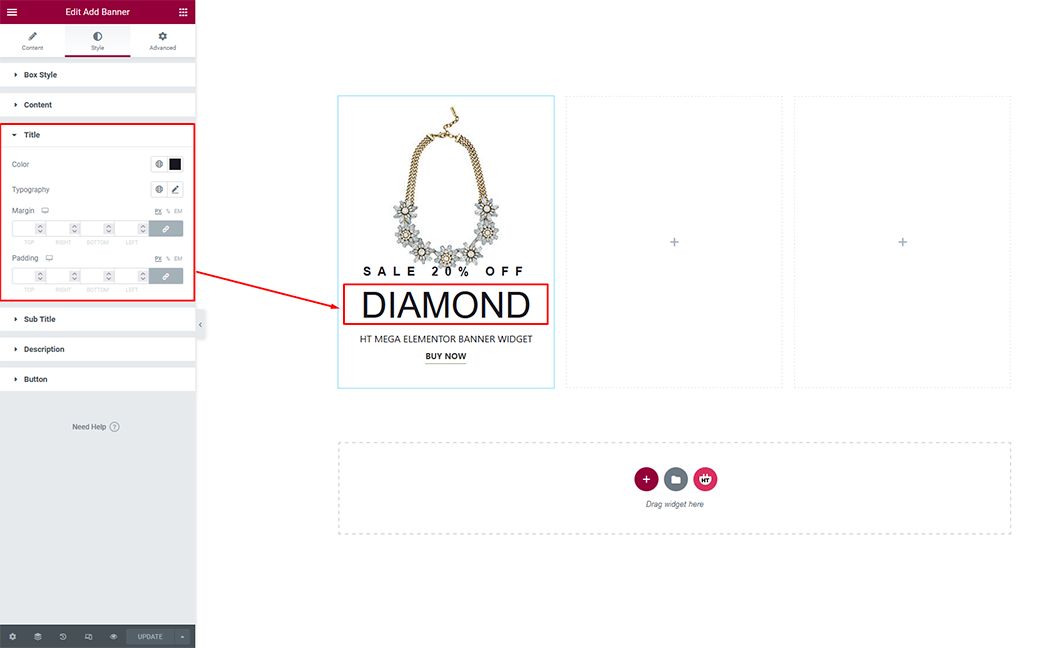
Title: You can customize style of the Title as you like
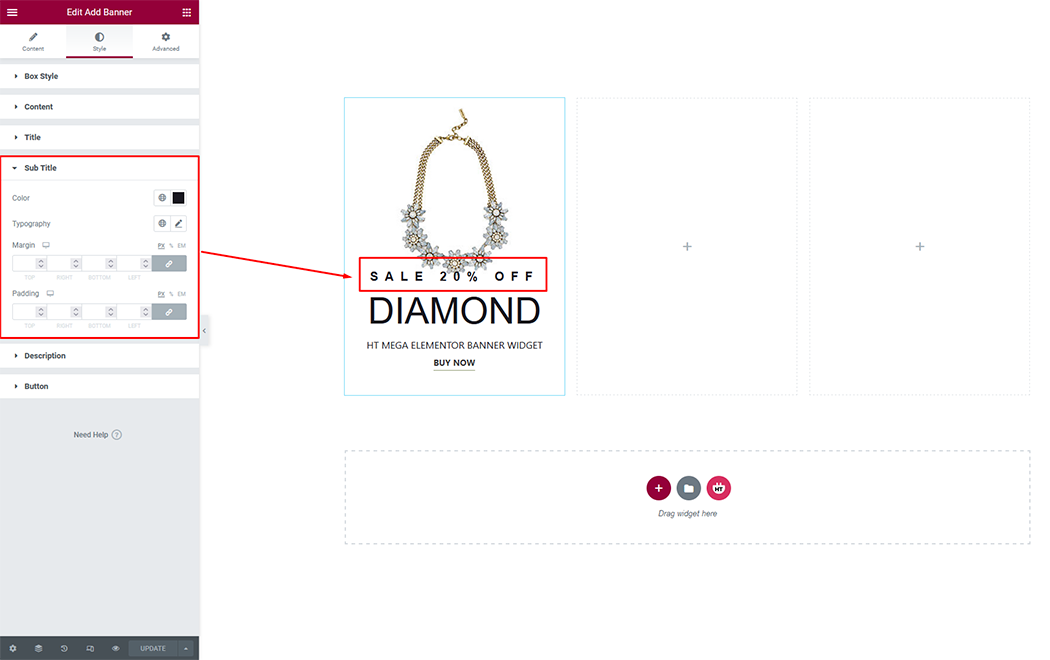
Sub Title: You can customize the style of the Sub Title as you like
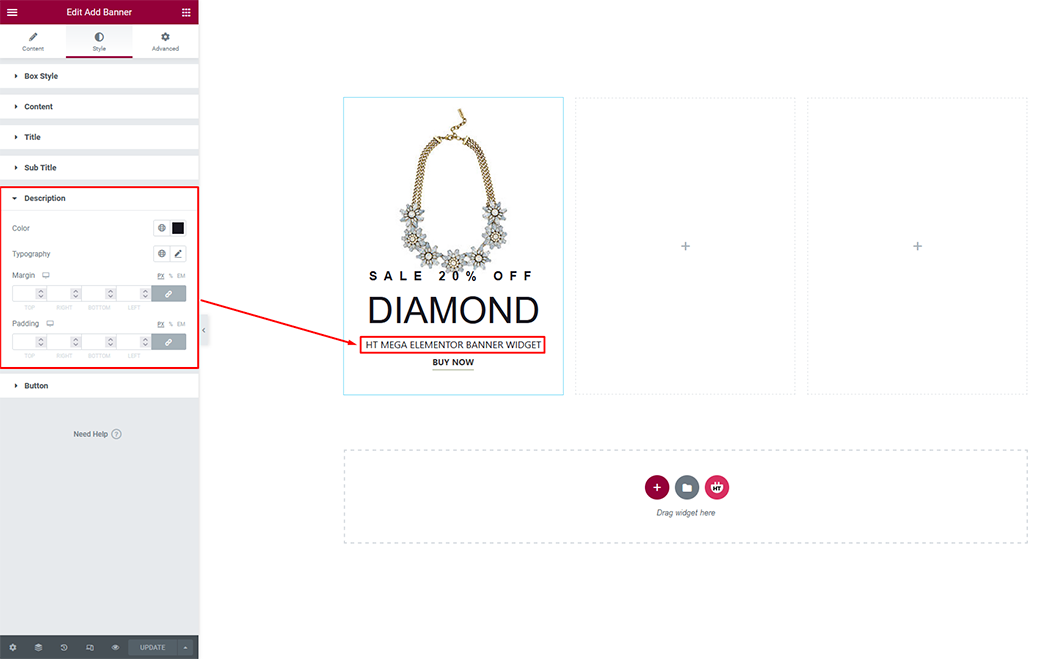
Description: You can customize the style of the Description as you like
Button: You can customize the style of the Button as you like

Usage Examples
Here are some live use cases for the Banner widget. Follow this link to see more Demos