
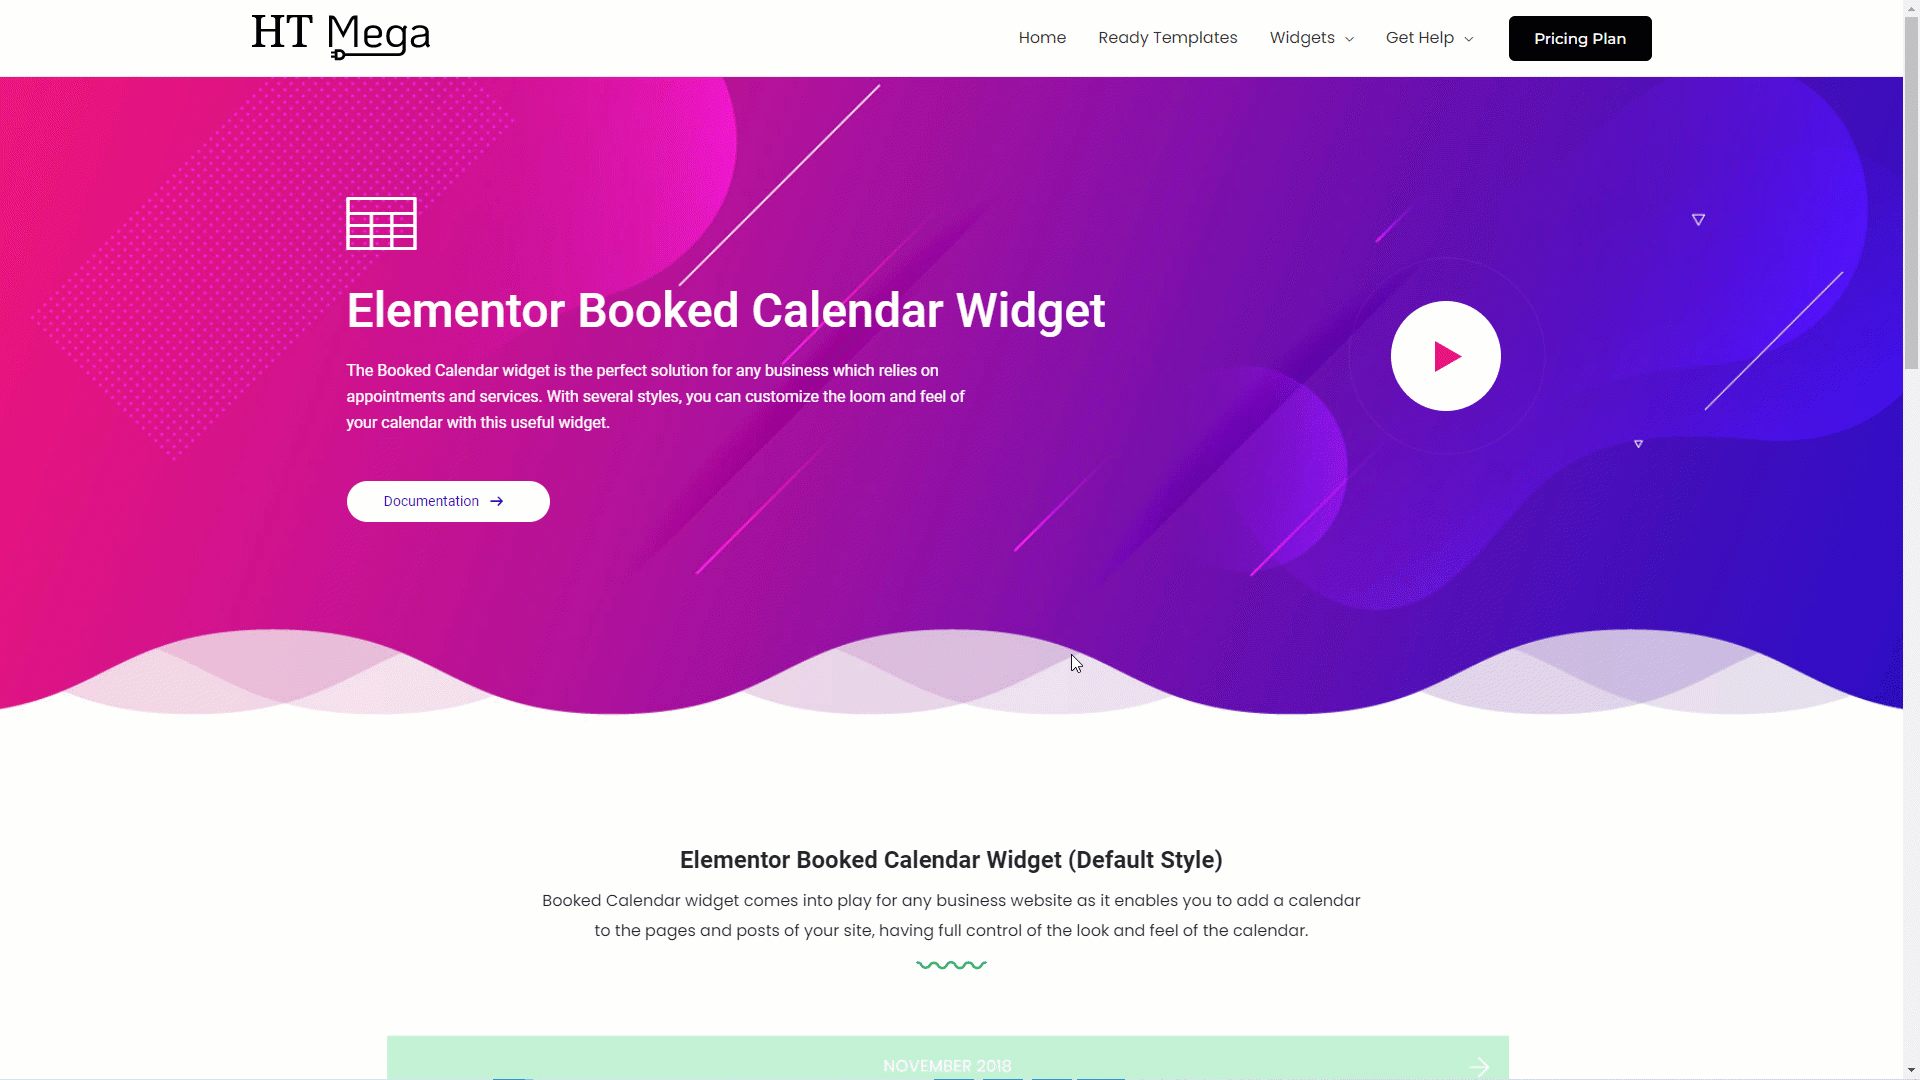
The Booked Calendar widget is the perfect solution for any business which relies on appointments and services. With several styles, you can customize the loom and feel of your calendar with this useful widget.
Steps of adding Booked Calendar Widget
Make sure you have installed and activated the Booked Calendar plugin.
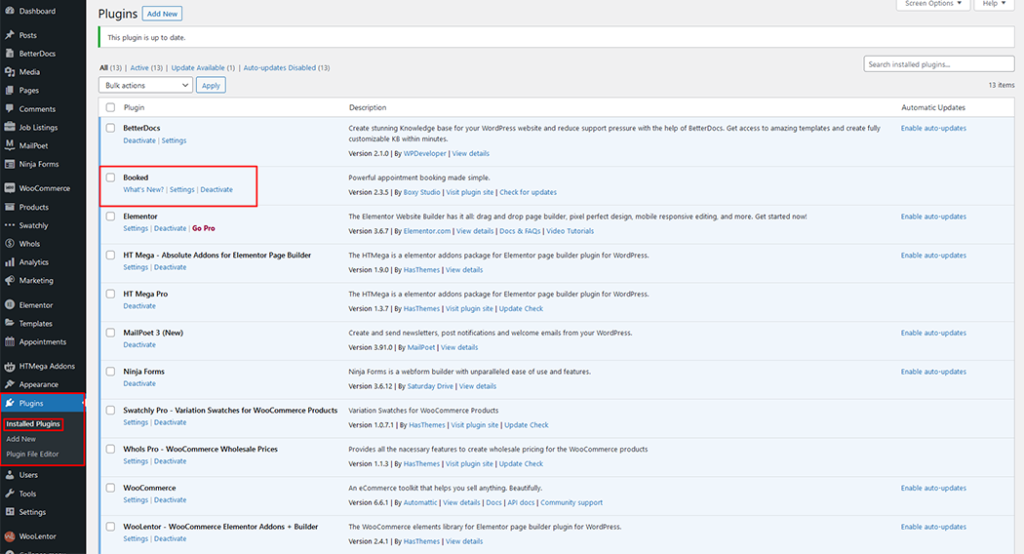
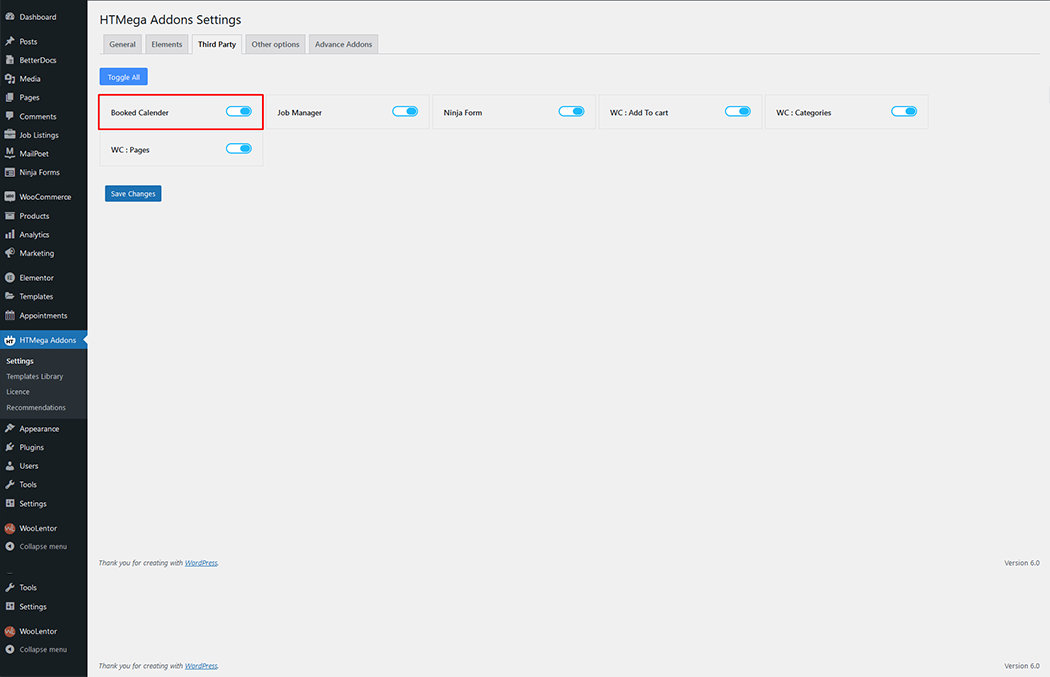
Go to WordPress Dashboard > HTMega Addons > Settings > Third Party. From the list of Third Party, turn ON the “Booked Calendar” widget.
Step 1: How to Enable Booked Calendar Widget?
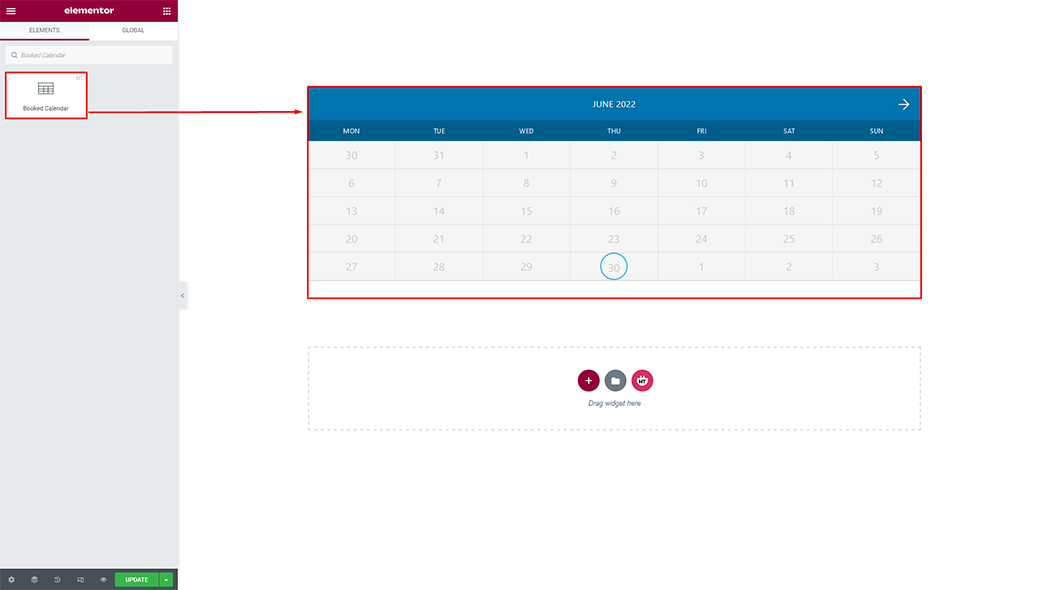
Step 2: How to use the Booked Calendar Widget?
To add the Booked Calendar Widget, search by “Booked Calendar” and use the widget that has the “HT badge”
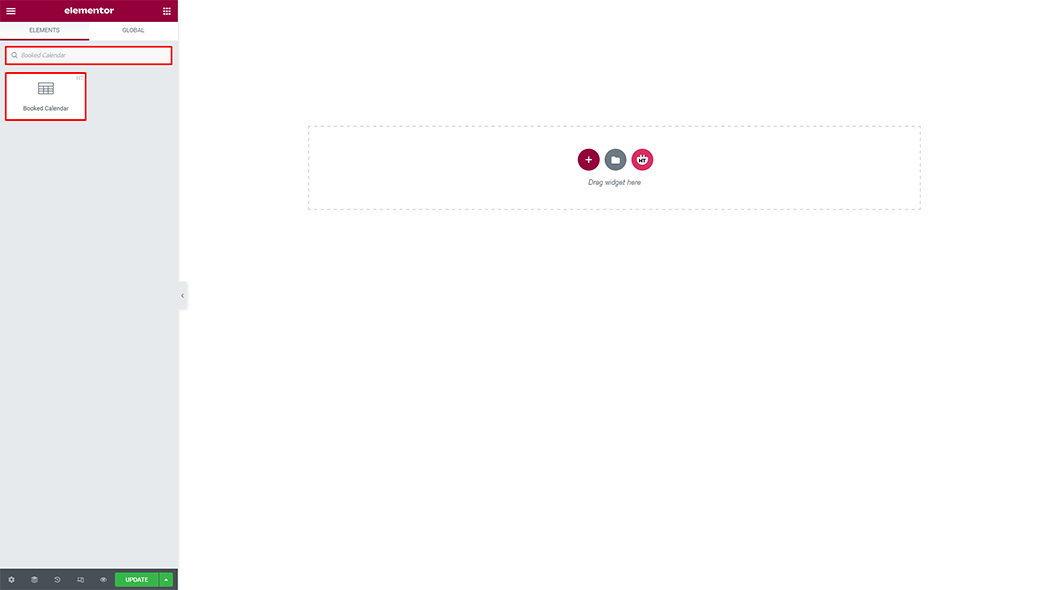
Drag and drop the HT Mega Booked Calendar widget onto the Page Template.
Step 3: How to customize the Booked Calendar Widget?
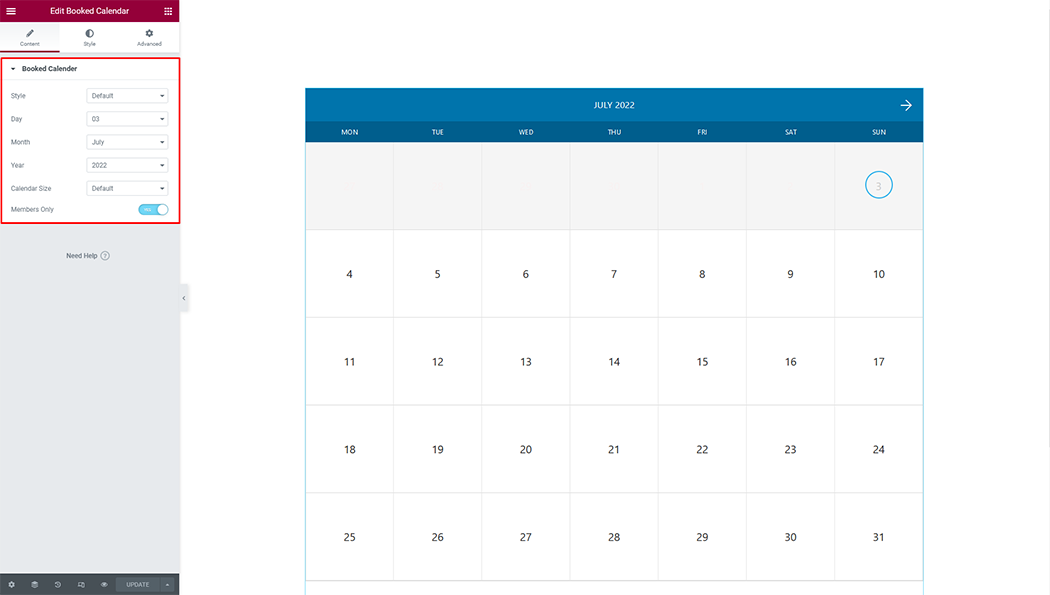
Booked Calendar: You can customize Booked Calendar as you need.
Step 4: How to customize the Booked Calendar Widget Style?
Header: You can customize the style of the header as you need.

Body: You can customize the style of the body as you need.

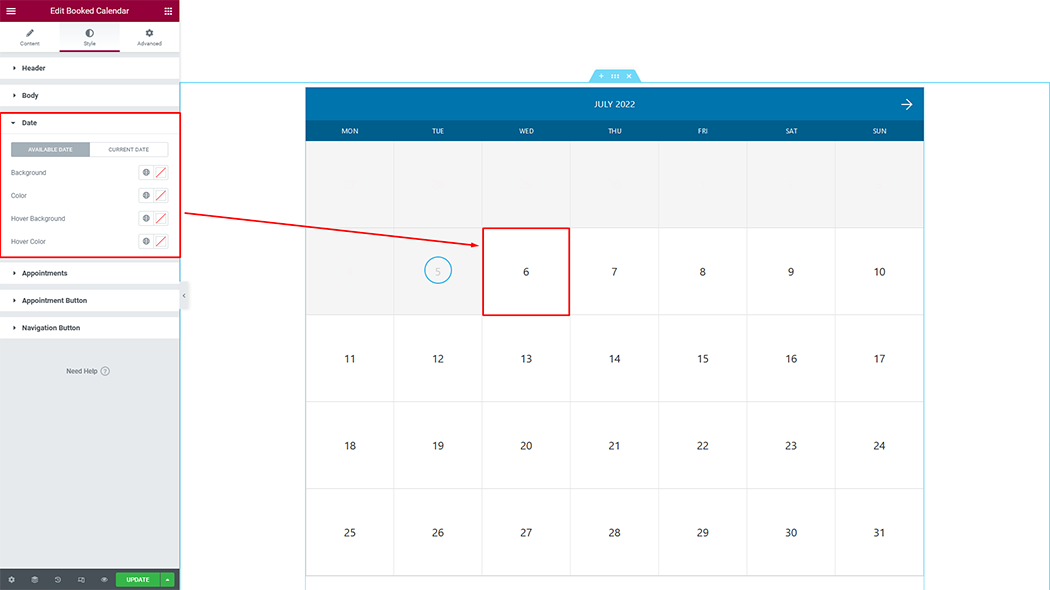
Date: You can customize the style of the date as you need.
Appointments: You can customize the style of appointments as you need.

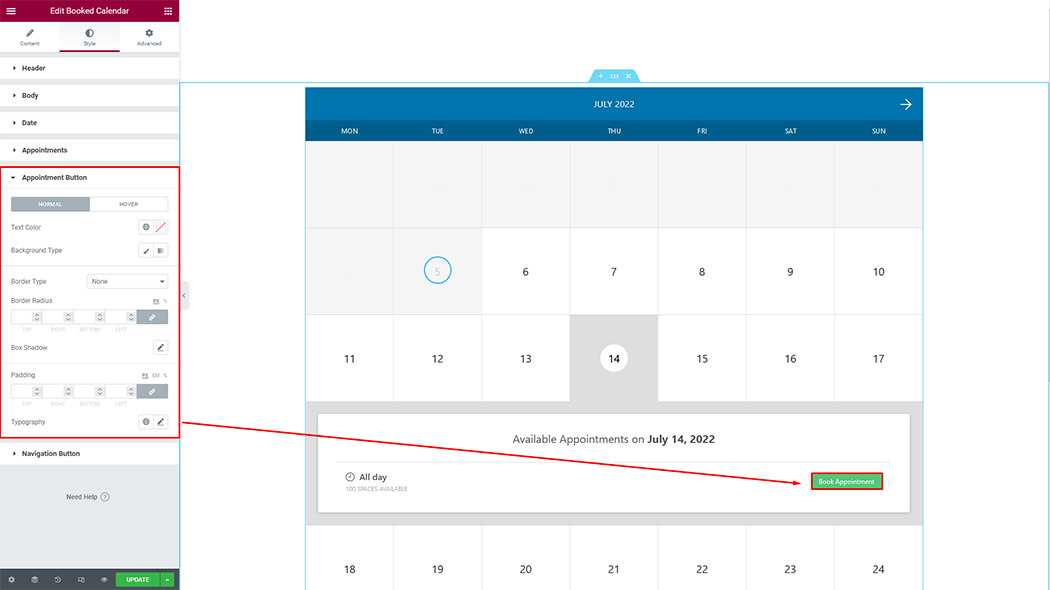
Appointments Button: You can customize the style of appointments button as you need.
Navigation Button: You can customize the style of the navigation button as you need.

Usage Examples
Here are some live use cases for the Booked Calendar widget. Follow this link to see more Demos
Was this helpful?
Good job! Please give your positive feedback
How could we improve this post? Please Help us.