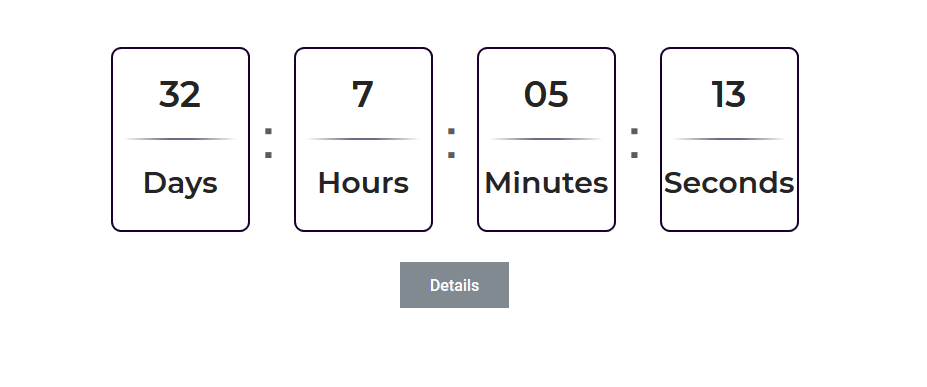
The Elementor Event Countdown Widget allows you to quickly and simply create beautiful event countdown content. As a result, you can see how much time is remaining for a specific event in days, hours, minutes, and so on.
How to use the Event Countdown Widget of HTMega Addons
Steps of adding Event Countdown Widget
Make sure you have installed and activated The Event Calendar plugin. You need to create a Form through Gravity Forms. You can check out their documentation to get started with The Event Calendar.

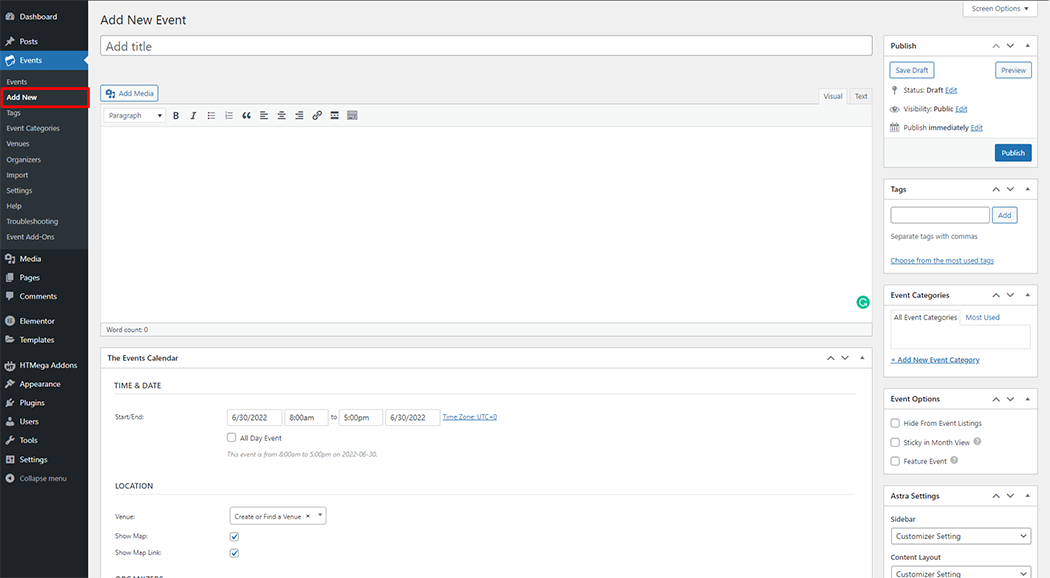
Step 1: Create Add New Event
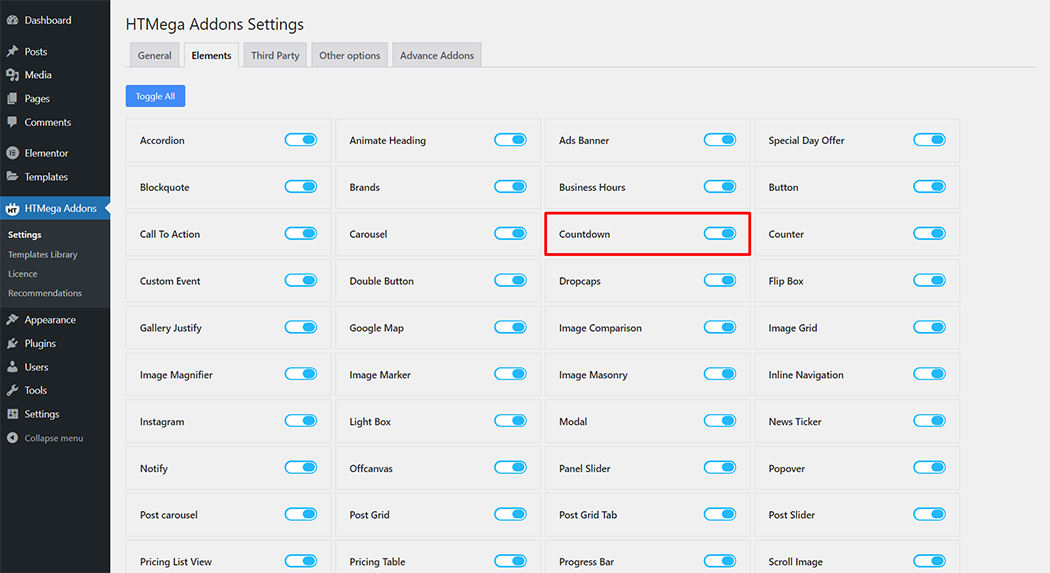
Step 2: How to Enable Countdown Widget?
Step 3: How to use the Event Countdown Widget?
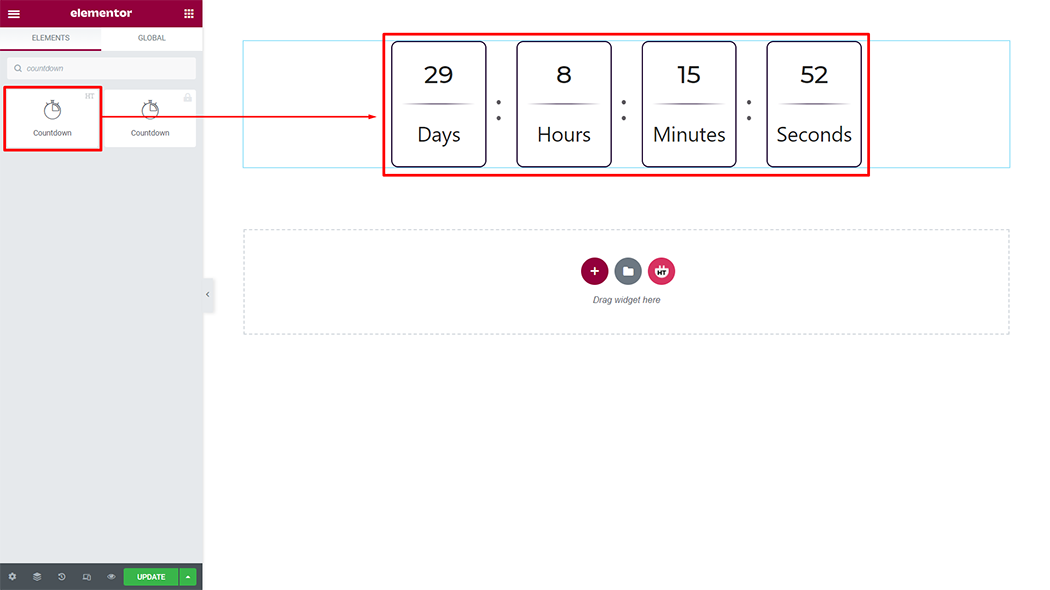
To add the Countdown widget, search by “Countdown” and use the widget that has the “HT badge”
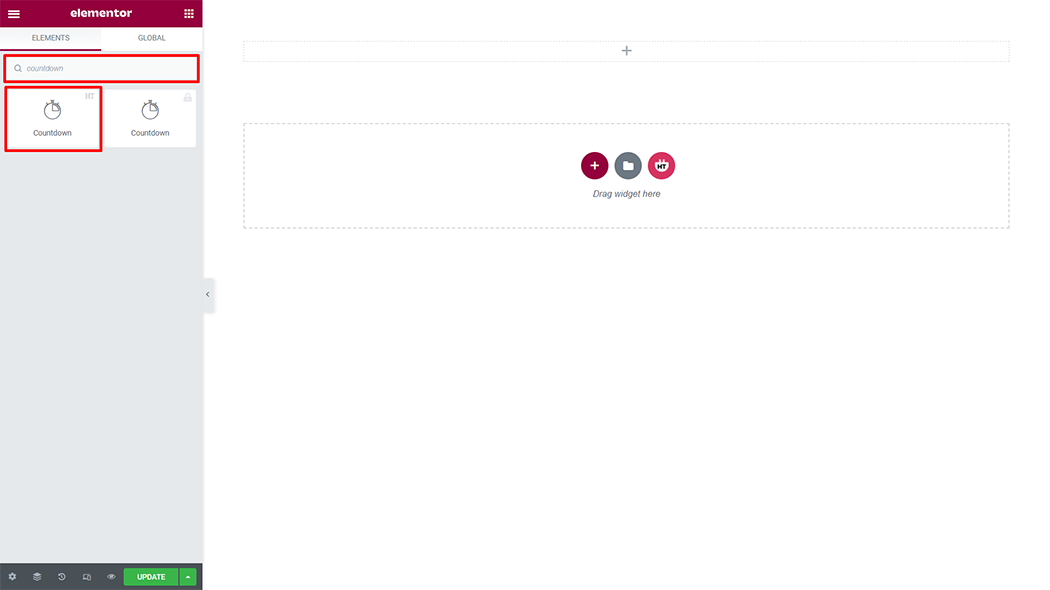
Drag and drop the HT Mega Countdown widget onto the Page Template.
Step 4: How to customize the Event Countdown Widget?
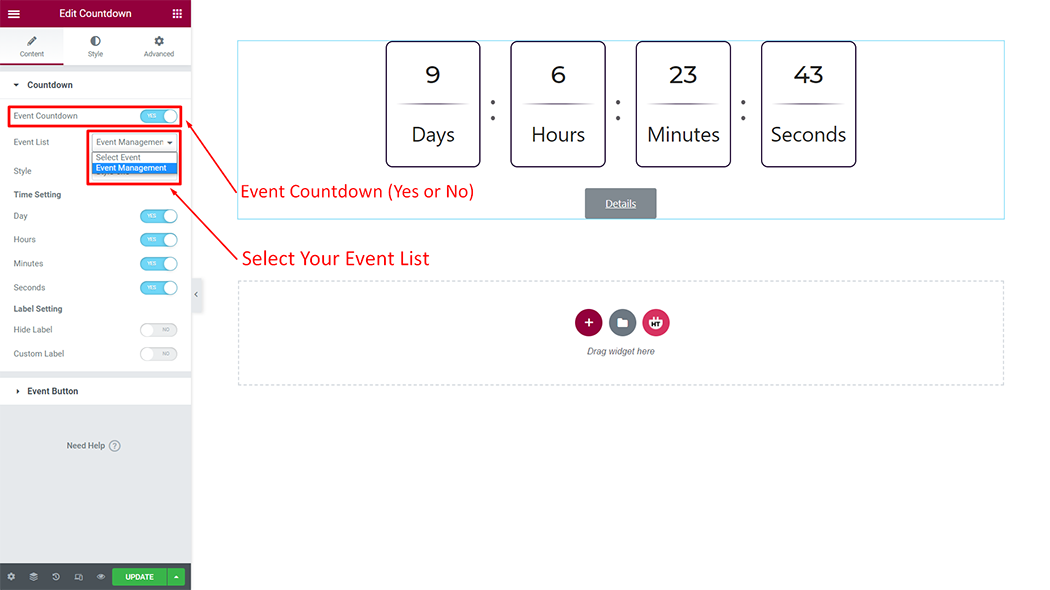
Countdown: Event Countdown (Yes or No) and select your Event
Style: You have 4 different styles of Countdown. You can choose your style from the selected options.
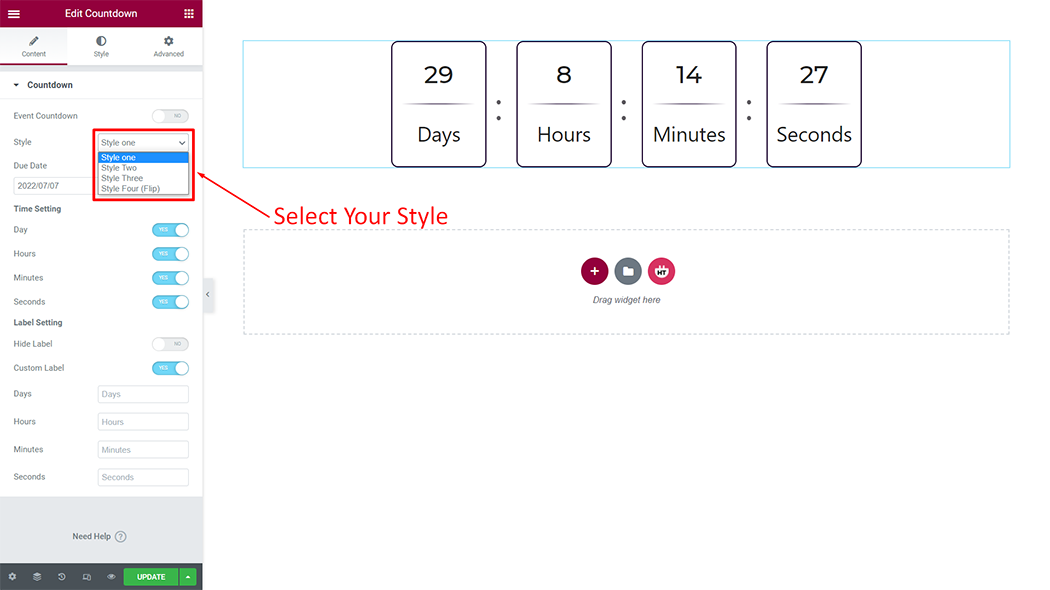
Time Setting and Label Setting: You can change the time setting and label Setting according to your need

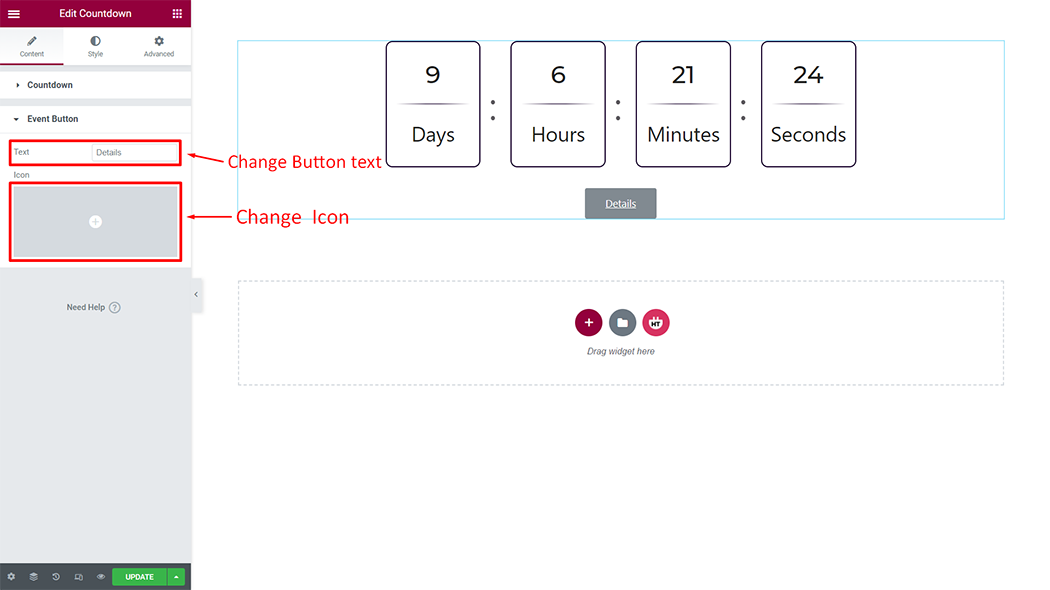
Event Button: You can change the Event Button text and icons according to your needs
Step 5: How to customize the Event Countdown Style?
Count Layout: You can customize the style of the Count Layout as you like

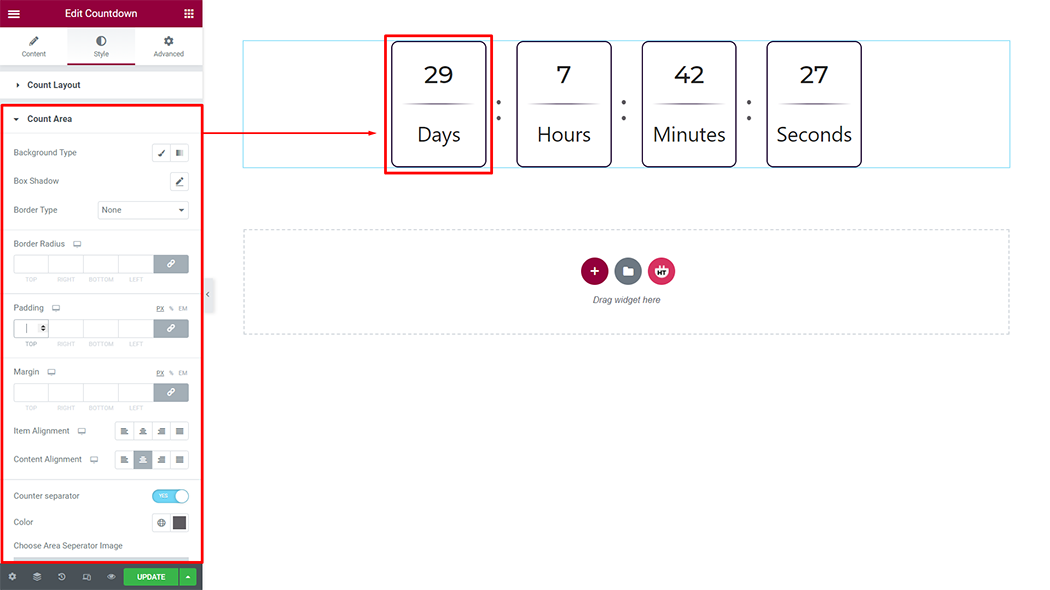
Count Area: You can customize the style of the Count Area as you like
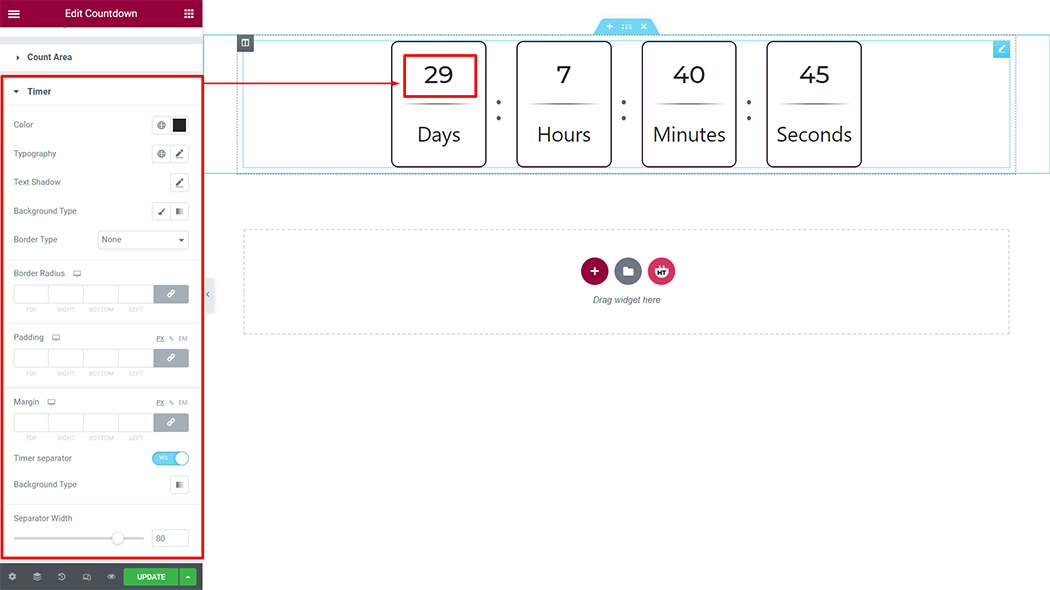
Timer: You can customize the style of the Timer as you like
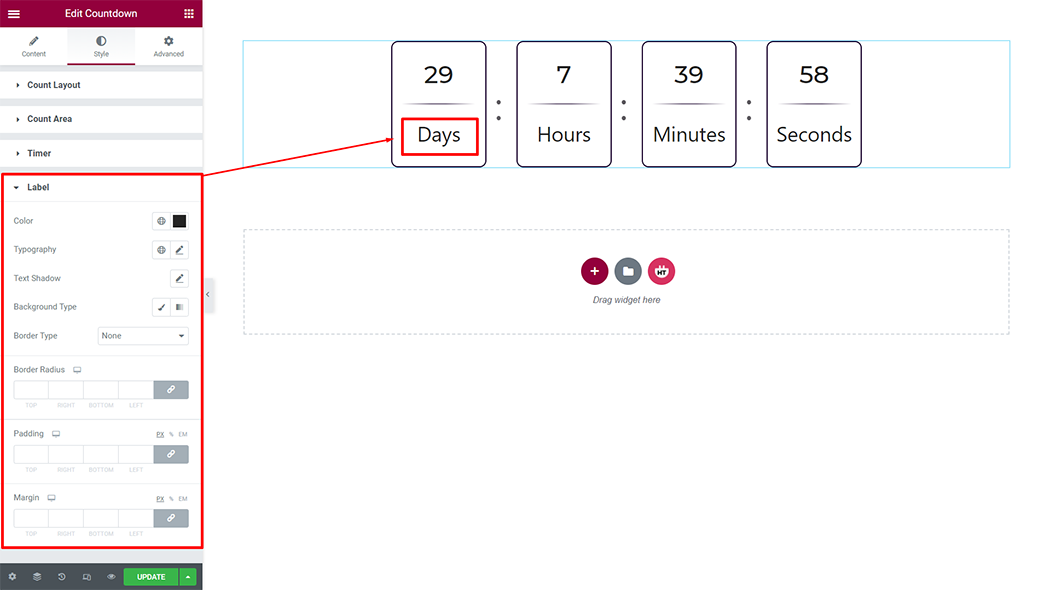
Label: You can customize the style of the Label as you like
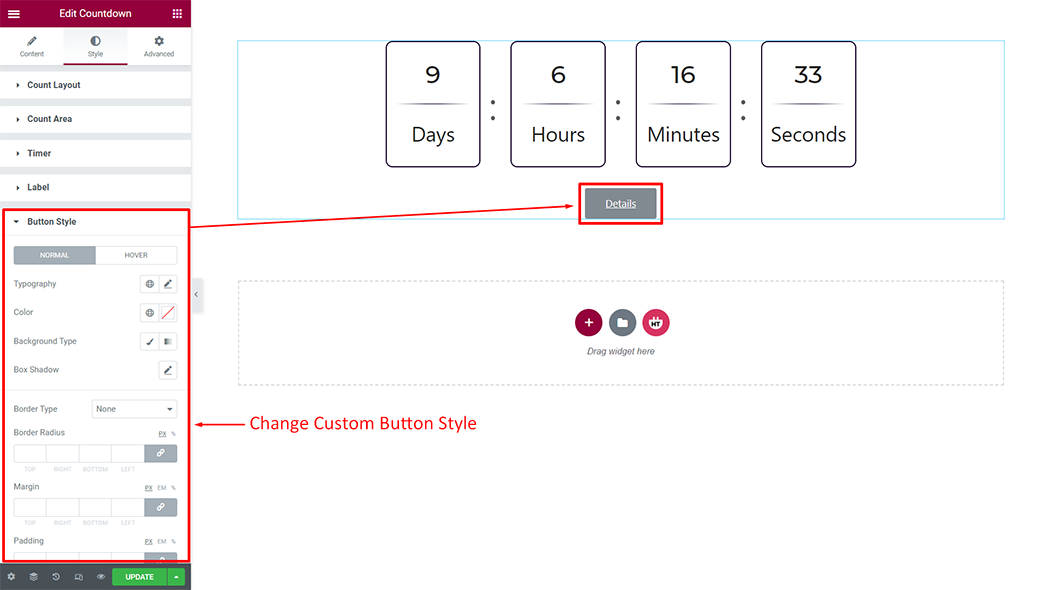
Button Style: You can customize the style of the Button Style as you like
Usage Examples
Here are some live use cases for the Event Countdown widget. Follow this link to see more Demos