The Elementor Floating Effects Module is an innovative component seamlessly integrated into our plugin. Its purpose is to enhance your website elements with captivating and visually appealing animations. This module empowers you to effortlessly generate a variety of eye-catching effects, encompassing smooth transitions, rotations, scaling, and opacity changes.
Benefits of Using a Floating Effects
- Attention-Grabbing Visuals: Floating effects draw attention to specific elements on a webpage, making them stand out and capturing the user’s focus.
- Enhanced User Engagement: Dynamic animations create an interactive and engaging browsing experience, encouraging users to explore the content further.
- Adaptability: Floating effects can be tailored to suit various types of websites, from business pages to portfolios, allowing for versatility in design.
Steps of adding Floating Effects
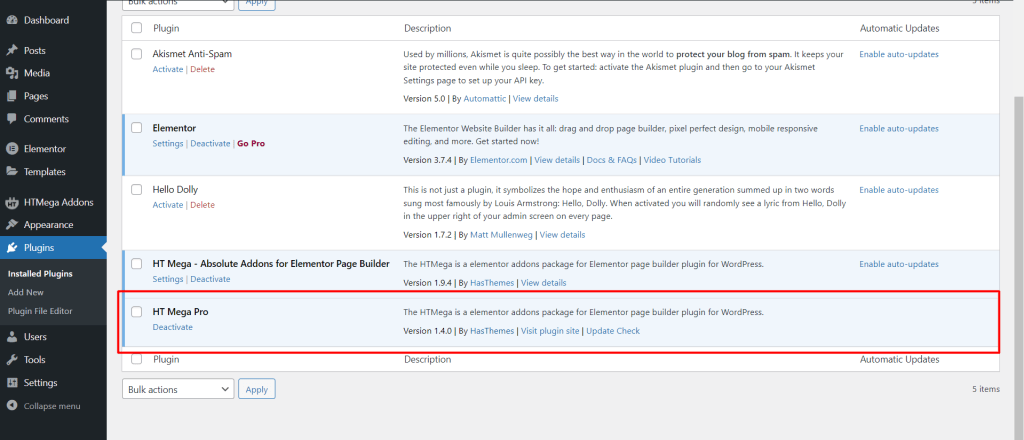
Make sure you have installed and activated HT Mega Pro to access all the features of this module.
Step 1: How to Enable Floating Effects Module?
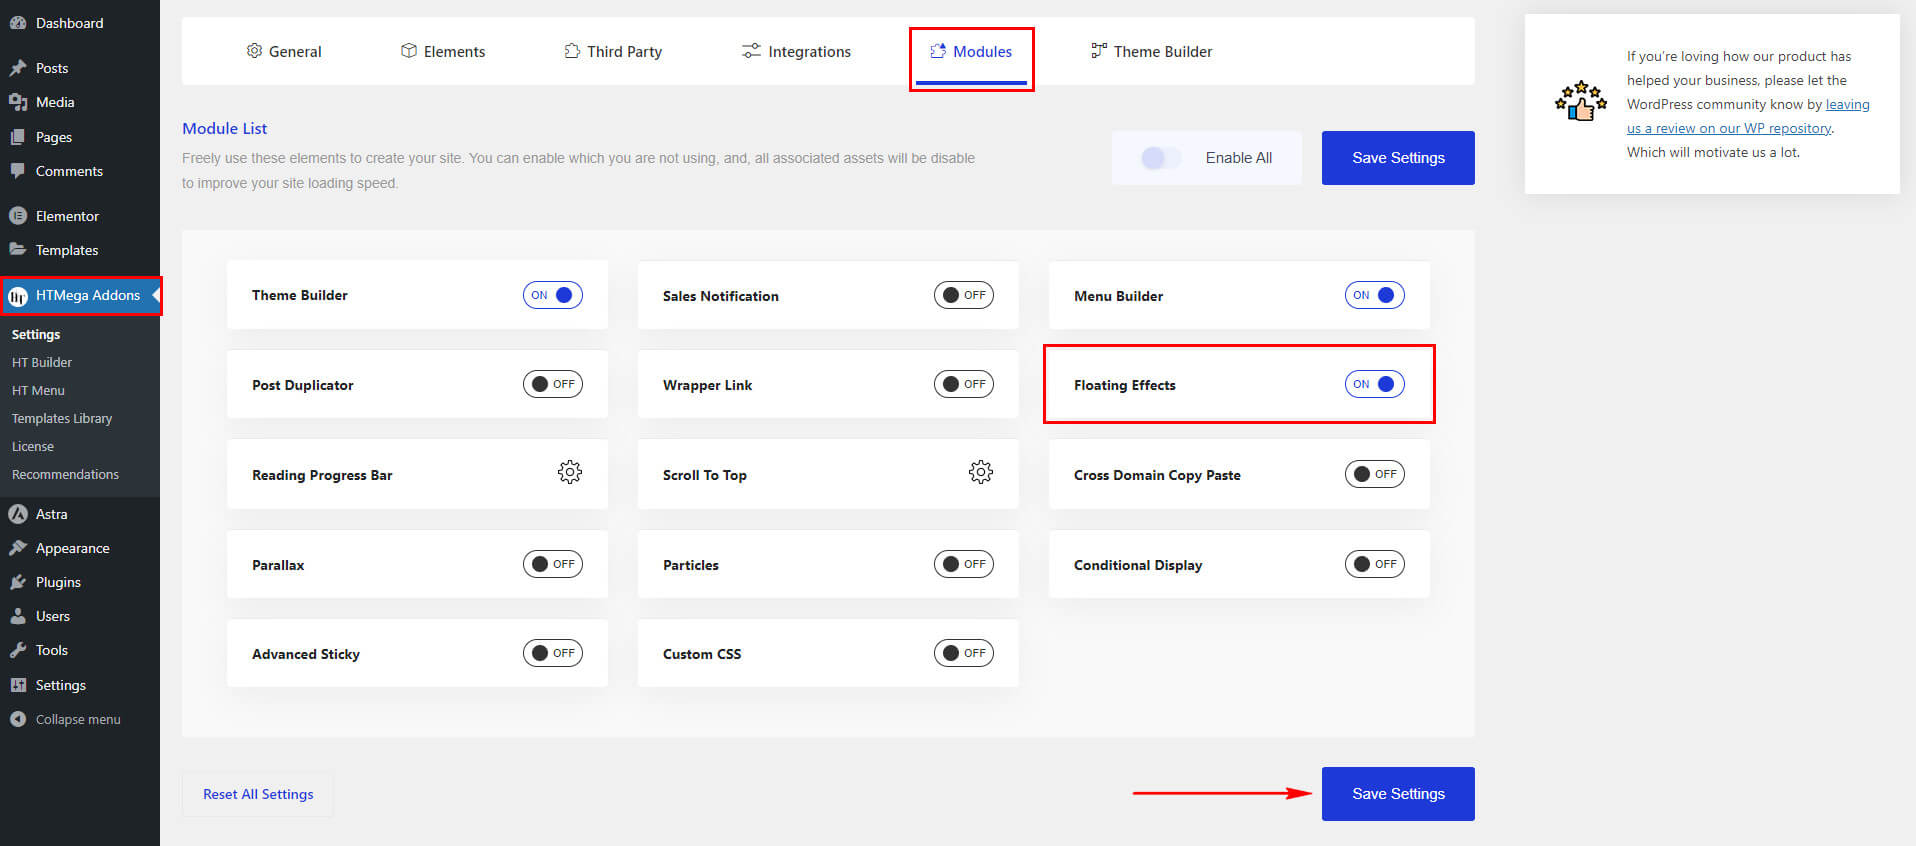
Go to WordPress Dashboard > HTMega Addons> Settings > Modules. From the list of Modules, Enable the “Floating Effects” Module.
Step 2: How to Add the Floating Effects
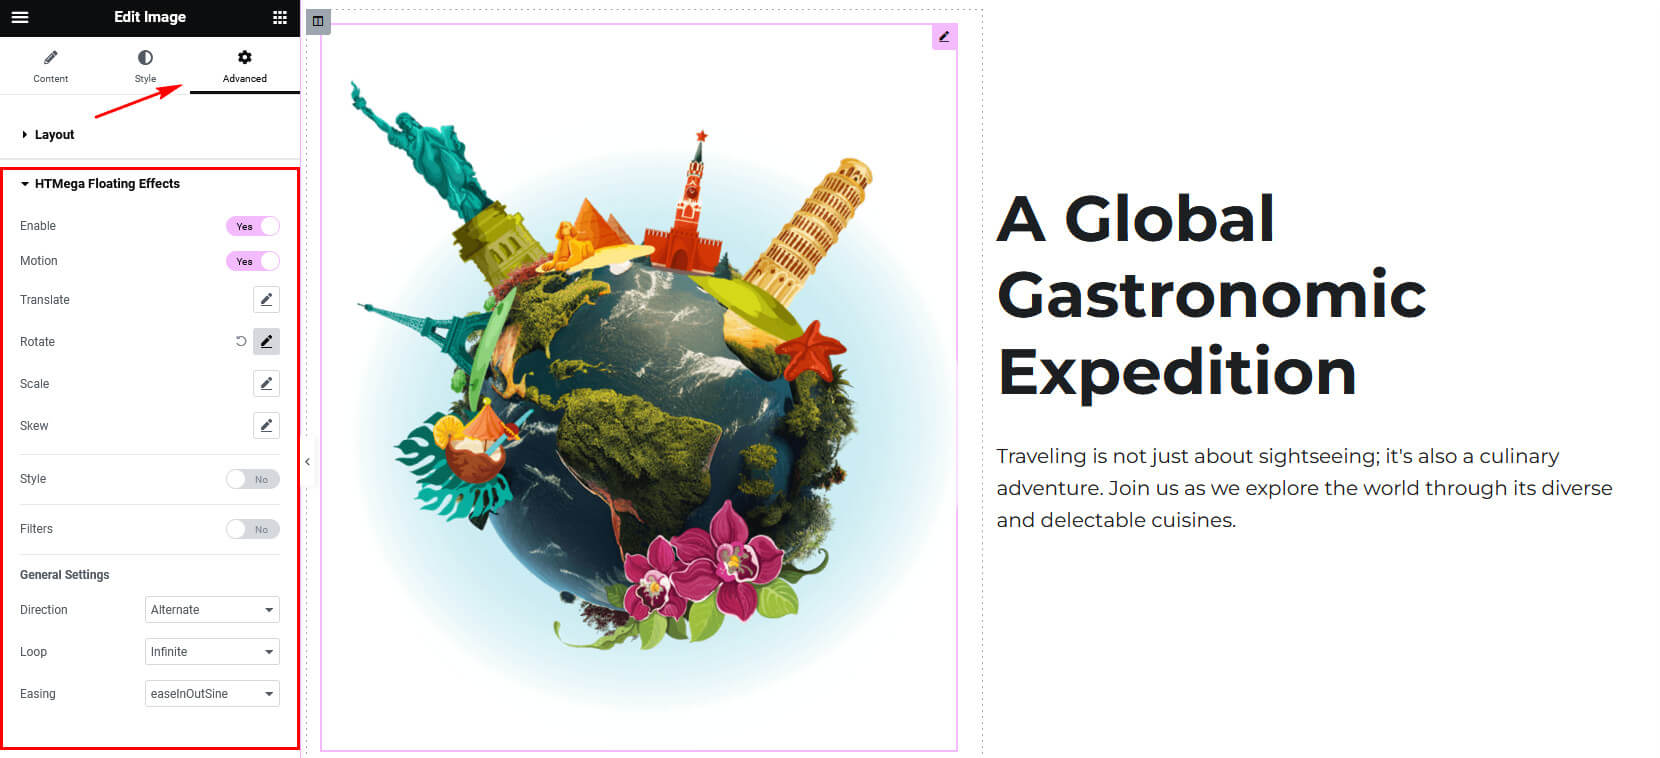
Once you’ve enabled the Floating Effects module in the module settings, access the Elementor editor for your chosen page. Choose the element to which you wish to apply the Floating Effect. Head to the Advanced tab within the Elementor settings panel. Locate the “HTMega Floating Effects” section and toggle the switch to enable the feature and customize the desired effect.
Step 3: Available Effects
The module provides various effects, encompassing Motion, Styles, and Filters, among others.
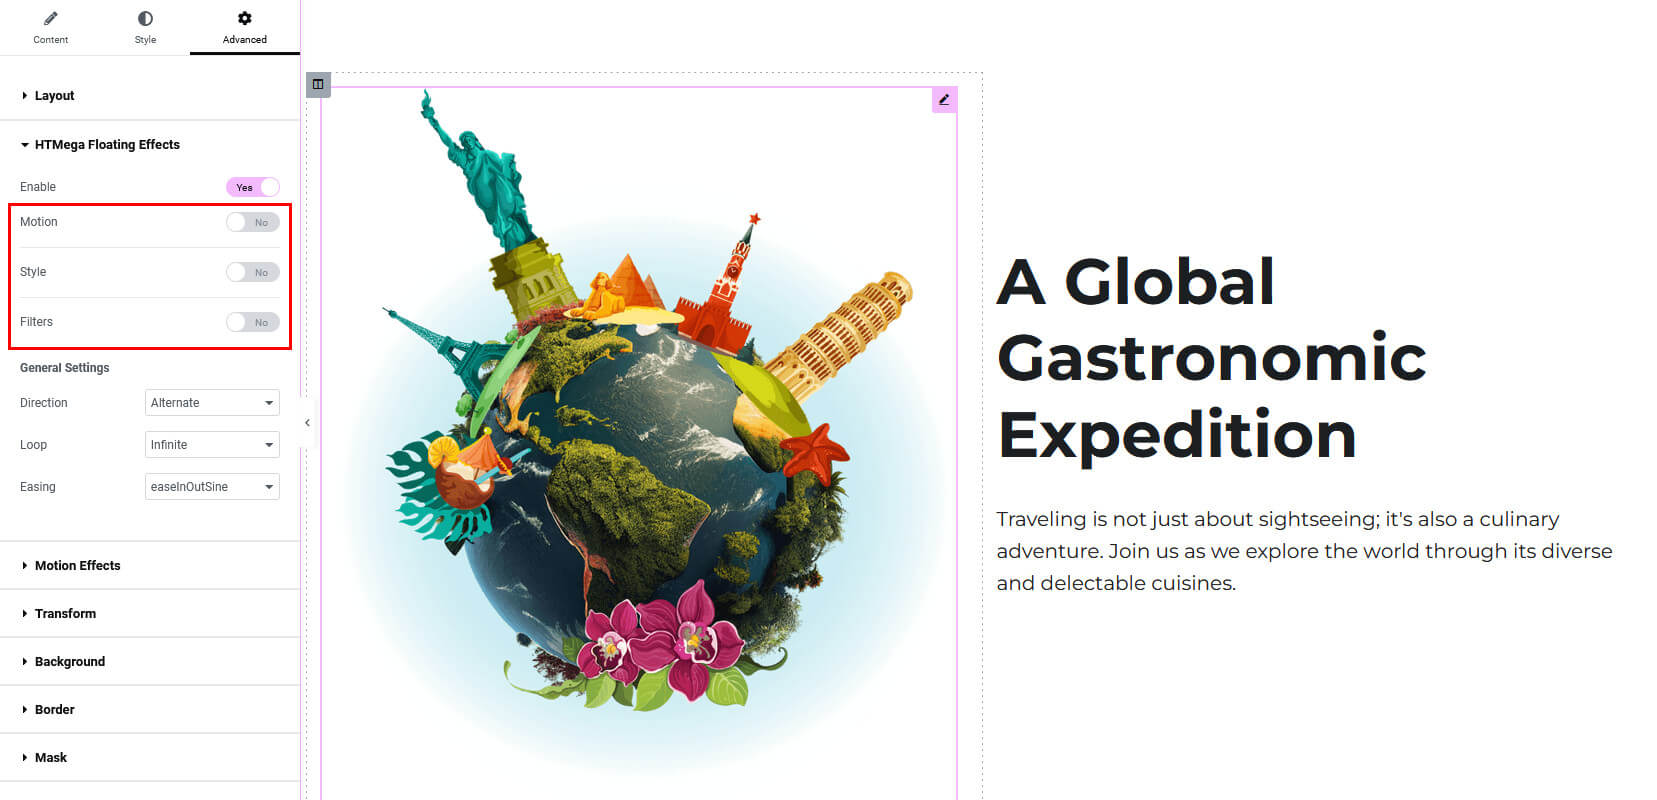
Motion Effects
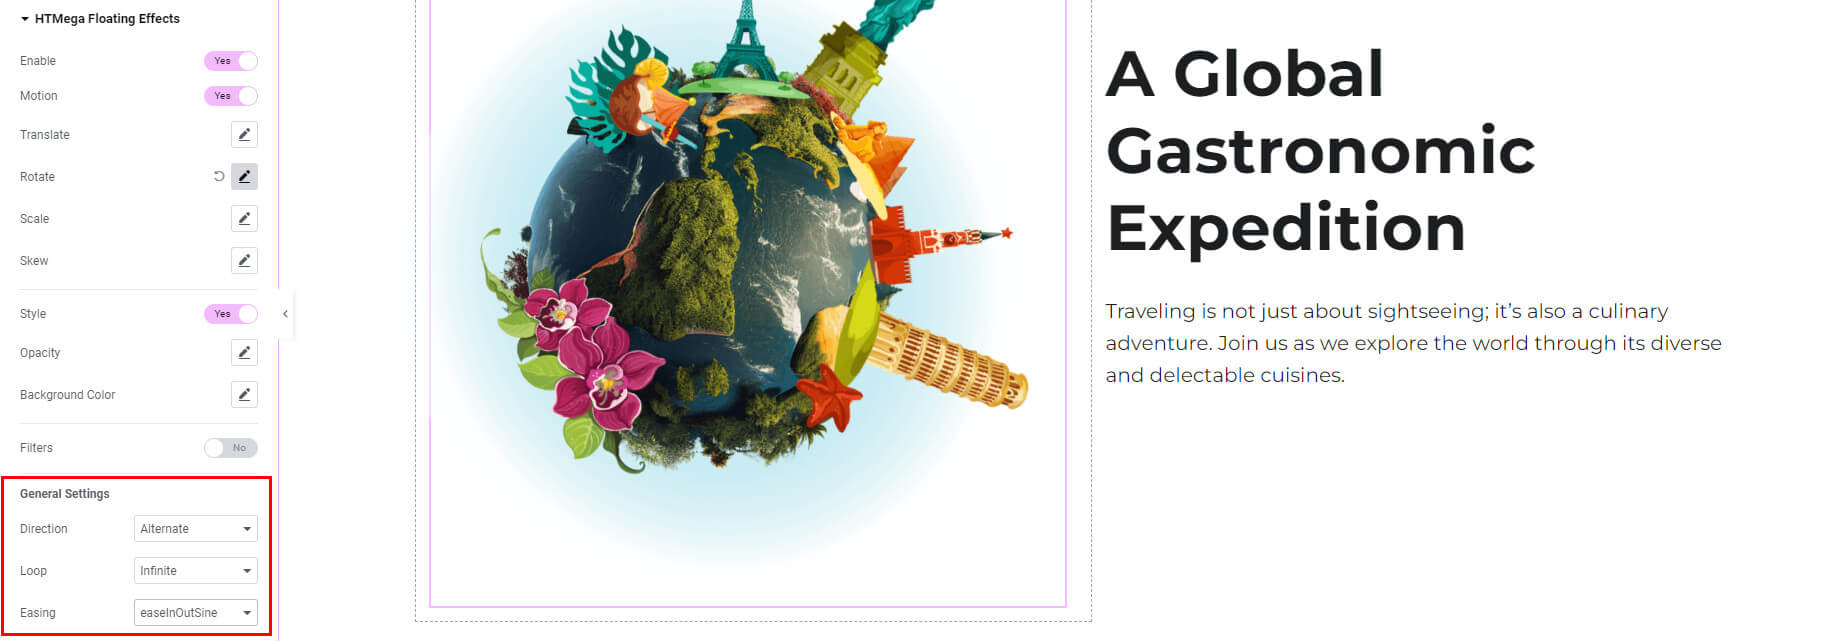
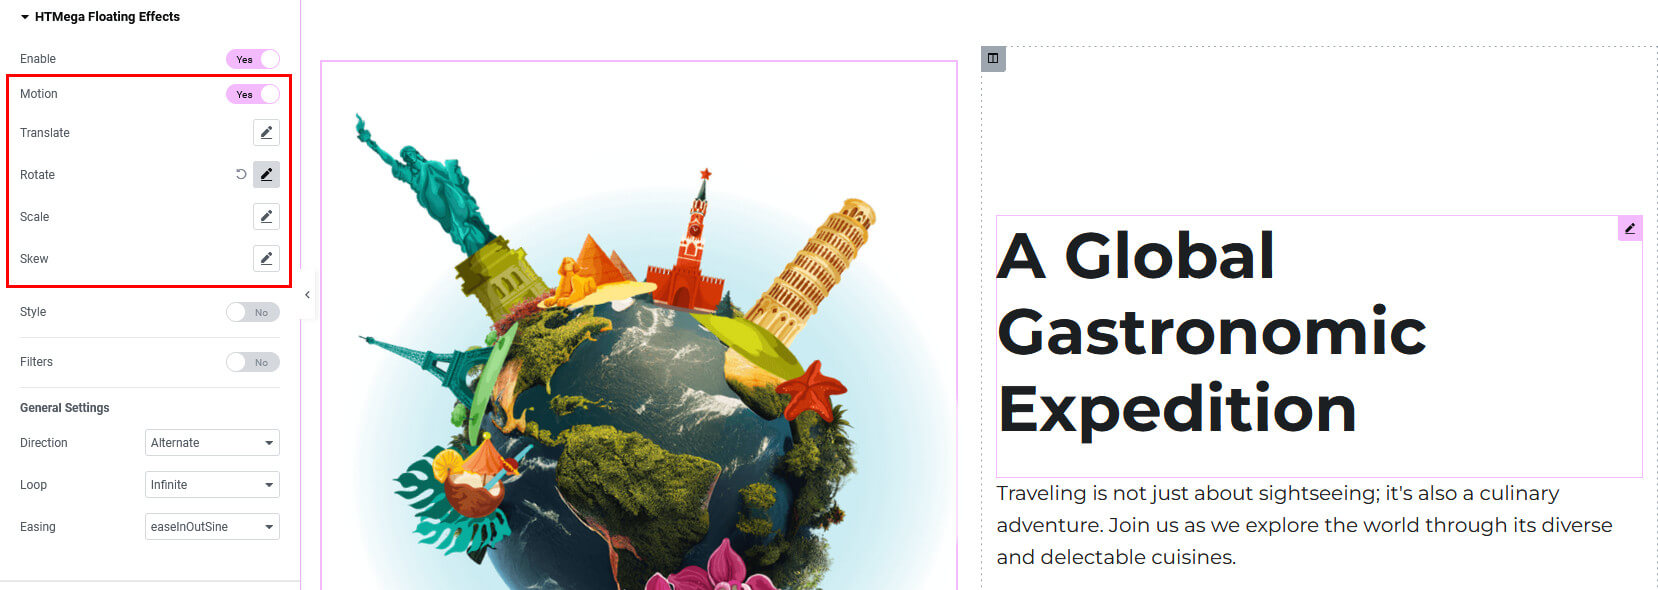
By enabling the Motion effect, you can incorporate Translate, Rotate, Scale, and Skew effects to create your desired animations.
Style Effects
Enabling the Style effect allows you to integrate element Opacity and element Background Color effects, enabling you to craft your preferred animations.

Filters Effects
By enabling the Filters effect, you can integrate element Blur, Contrast, Grayscale, Hue, Brightness, and Saturation effects, giving you the flexibility to create your desired animations.

Step 4: How to Customize Floating Effects
Customize each effect according to your preferences using options like Duration, Delay, Axis, Value, and more. Explore these settings to attain the visual impact you desire.
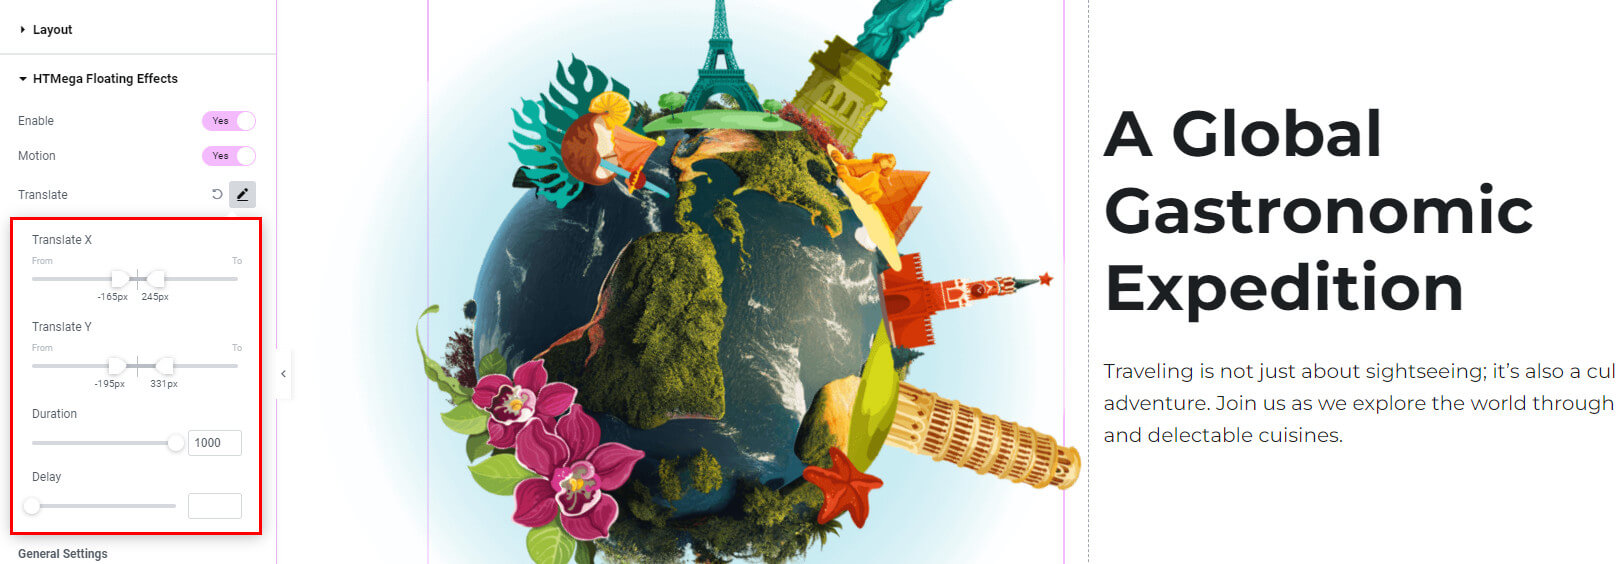
General Settings
In the general settings, customize the animation’s direction, loop, and easing.
- Direction: Choose the direction setting as Normal, Reverse, or Alternate to define the animation’s flow.
- Loop: Set the loop to either Infinity or a custom number in the loop settings.
- Easing: Define the easing effect from options such as Linear, easeInOutSine, easeInOutExpo, easeInOutQuart, easeInOutCirc, easeInOutBack, Steps, Elastic In, Elastic Out, or Elastic In Out.
