Welcome to the documentation for the HT Mega Print Page Widget designed for seamless integration with Elementor Page Builder! This widget provides an easy and efficient way to incorporate a print functionality into your website, allowing users to print the content directly from the page. Whether you want to offer a printer-friendly version of your articles or enhance the accessibility of your content, the HT Mega Print Page Widget is the perfect solution.
Steps of adding Print Page Widget
To use the “Print Page” widget, please ensure that HT Mega Pro is activated on your website and confirm that you have enabled the Theme Builder Module in the Module Settings.
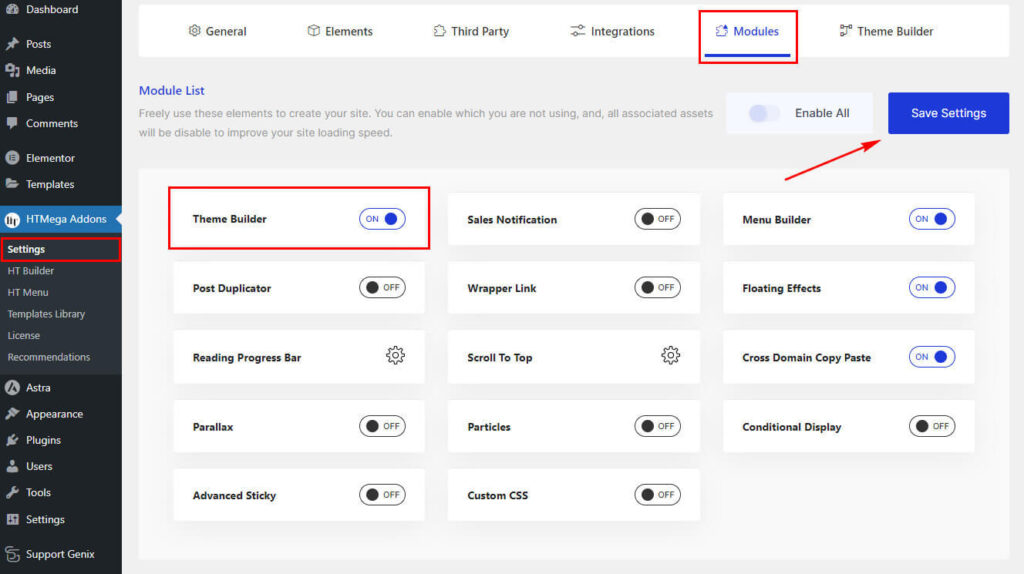
Step 1: How to Enable Print Page Widget?
Go to WordPress Dashboard > HTMega Addons > Settings > Theme Builder. From the list of Elements, enable the “Print Page” widget.
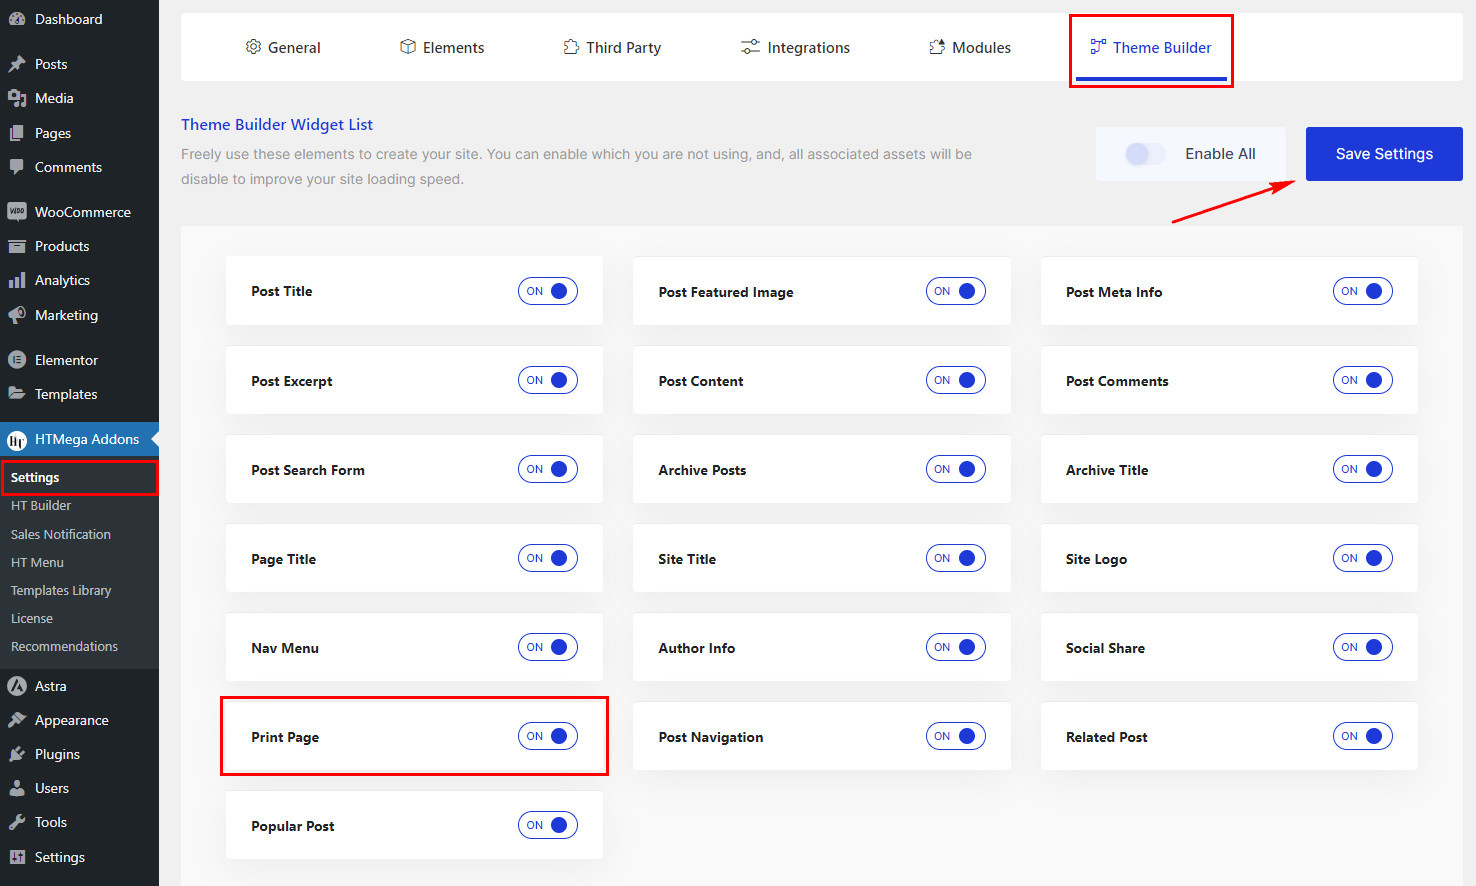
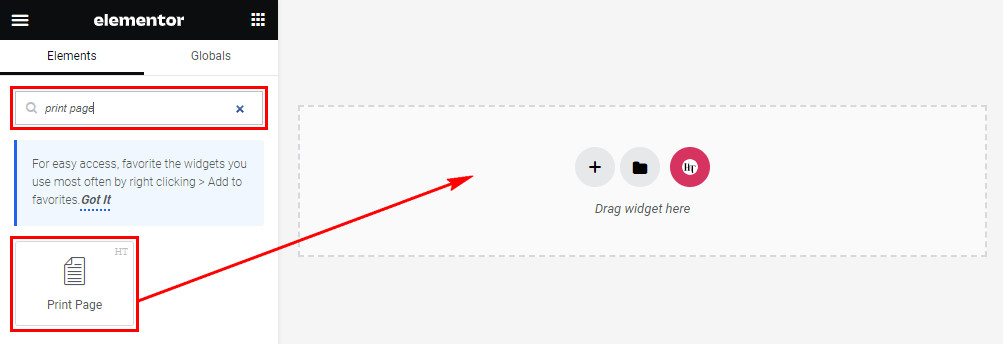
Step 2: How to Use the Print Page Widget?
Once you’ve enabled the Print Page widget in the theme builder settings, access the Elementor editor for your chosen page. Search for “Print Page” and then drag and drop the widget with the “HT” badge.
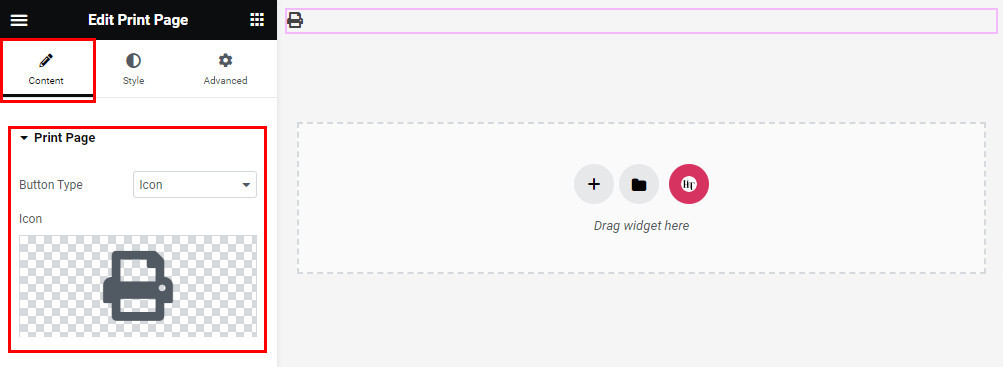
Step 3: How to customize the Elementor Print Page Widget?
Once you’ve added the Print Page widget, go to the Content tab, where you’ll find the Print Page section. Now, you can choose the print Button Type from Icon, Text, and Icon & Text options based on your preference.
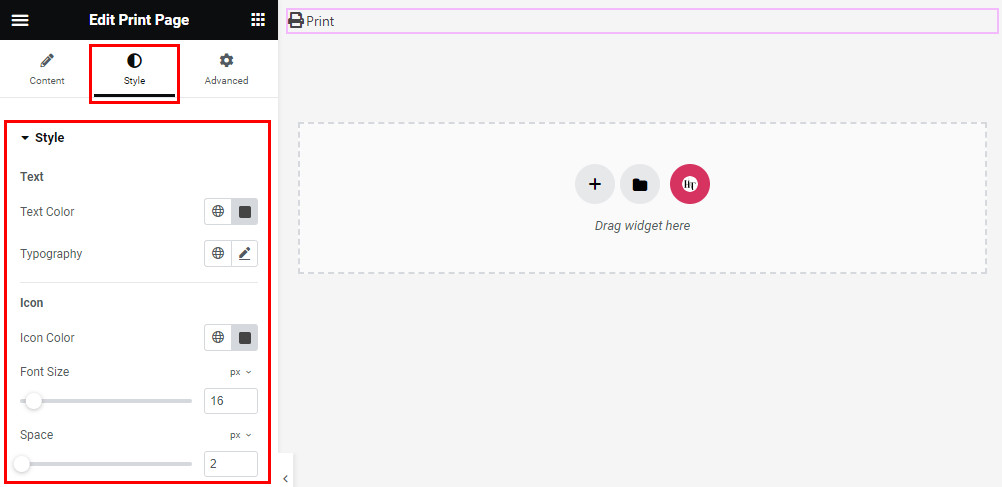
Step 4: How to customize the HT Mega Print Page Widget Style?
In the Style tab, customize the appearance of the print button style to align with your preferences.
That’s it! Thank you for choosing HT Mega to enhance your website design and user experience. If you need additional assistance, feel free to contact our support team. Our dedicated support team would be more than happy to assist you.
