The WC: Pages widget is useful if you want to present your checkout page. A checkout page refers to any website pages shown to a customer during the step-by-step checkout process.
Steps of adding WooCommerce Checkout Page Widget
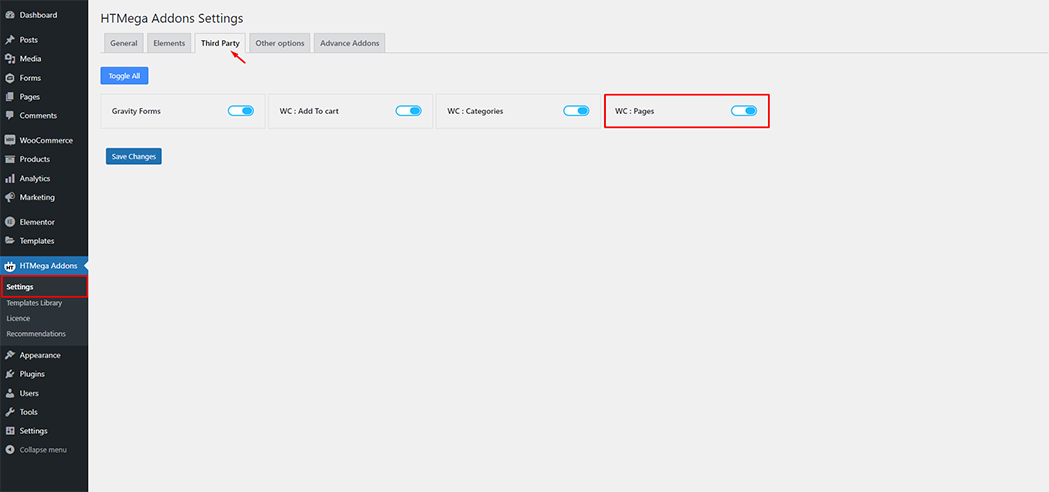
Go to WordPress Dashboard > HTMega Addons > Settings > Third Party. From the list of Third Party, turn ON the “WC: Pages” widget.
Step 1: How to Enable WC: Pages Widget?
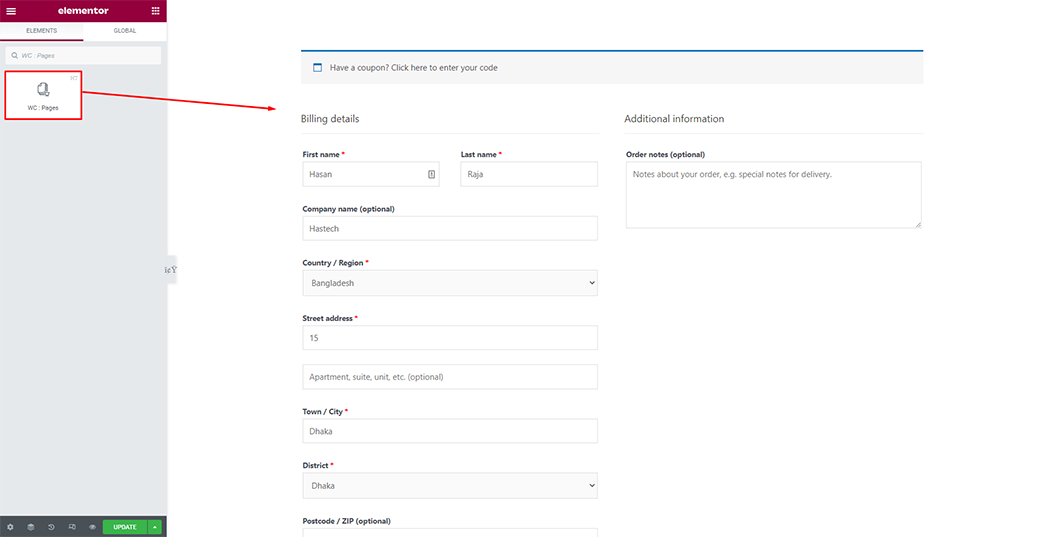
Step 2: How to use the WC: Pages Widget?
To add the WC: Pages widget, search by “WC: Pages” and use the widget that has the “HT badge”

Drag and drop the HT Mega “WC: Pages” widget onto the Page Template.
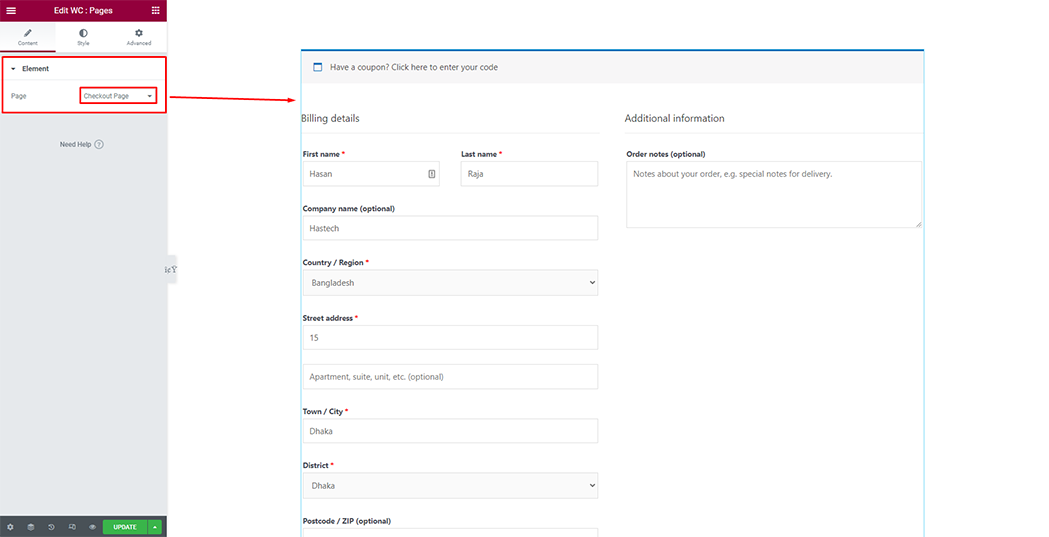
Step 3: How to customize the WC: Pages Widget?
Element: You can select the checkout page from the dropdown page list.
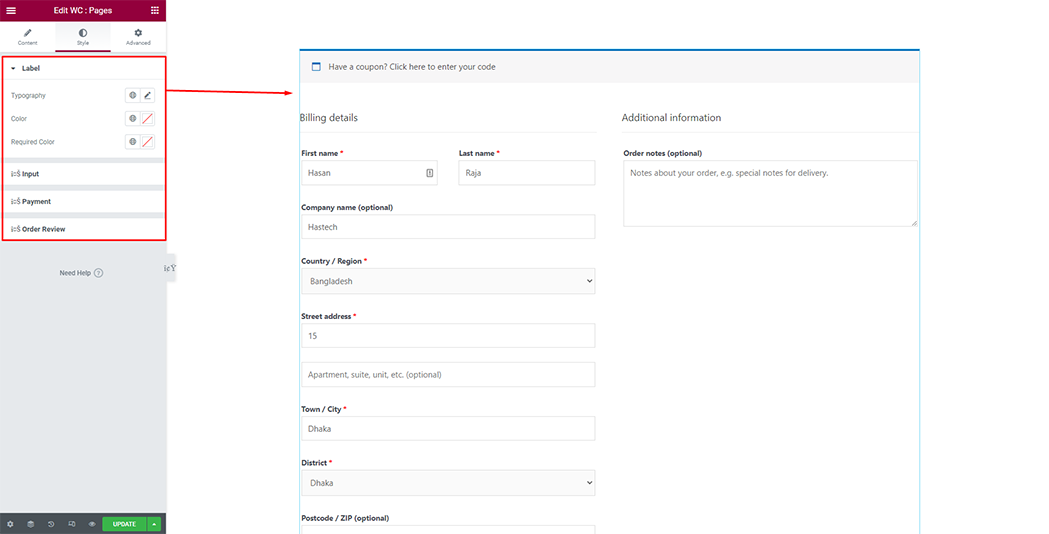
How to customize the WC : Pages style
Label: You can change the style of label as you need
Input: You can change the style of input body as you need
Payment: You can change the style of payment as you need
Order Review: You can change the style of order review as you need
Style: You can customize the style of Checkout Page as you like
Usage Examples
Here are some live use cases for the WC : Pages widget. Follow this link to see more Demos