
If you’re looking to add some visually appealing particle effects to the background of your website, you can do so easily with the HT Mega Pro’s HT Mega Particle feature.
How to use the Particles Module of HTMega Addons
Steps of adding Particles Module
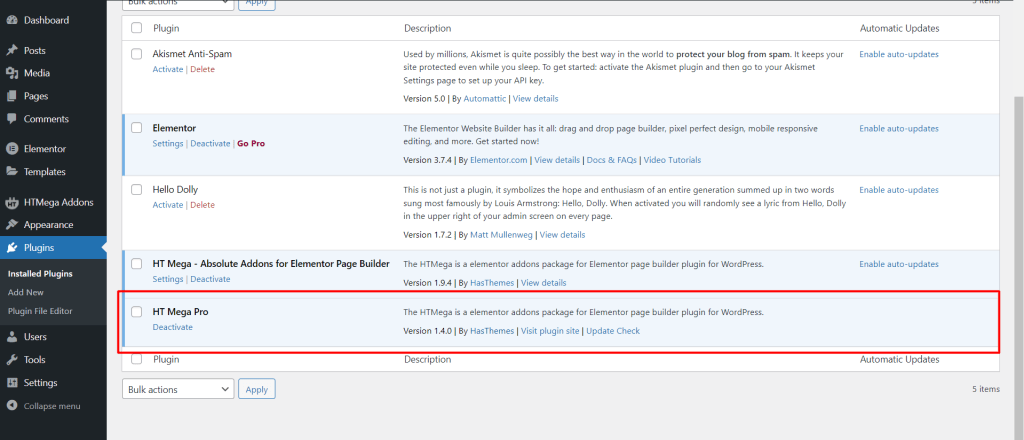
Make sure you have installed and activated the HT Mega Pro.
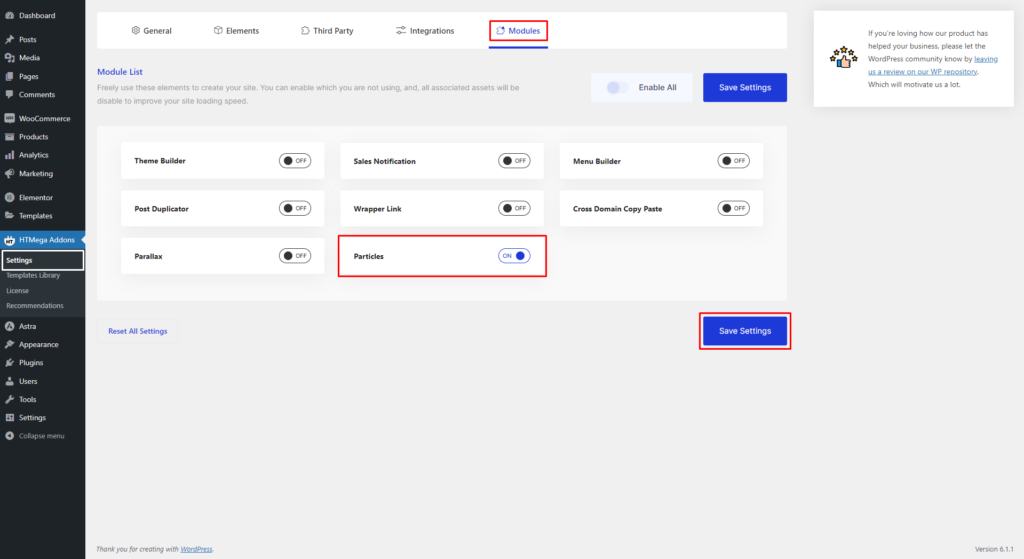
Step 1: How to Enable Particles Module?
Go to WordPress Dashboard > HTMega Addons> Settings > Modules. From the list of Modules, turn ON the “Particles” Module.
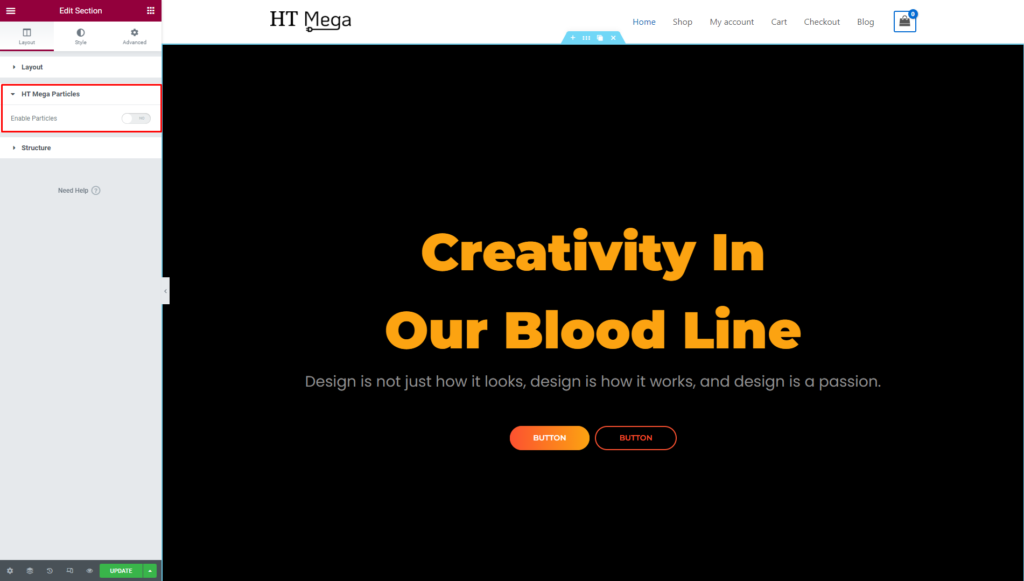
Step 2: How to use the Elementor Particles Module?
To access the section option in the Elementor editing page, simply click on it.

In the Elementor editing page, navigate to the Layout section and locate the HT Mega Particle Feature option. Toggle it on to enable the feature.
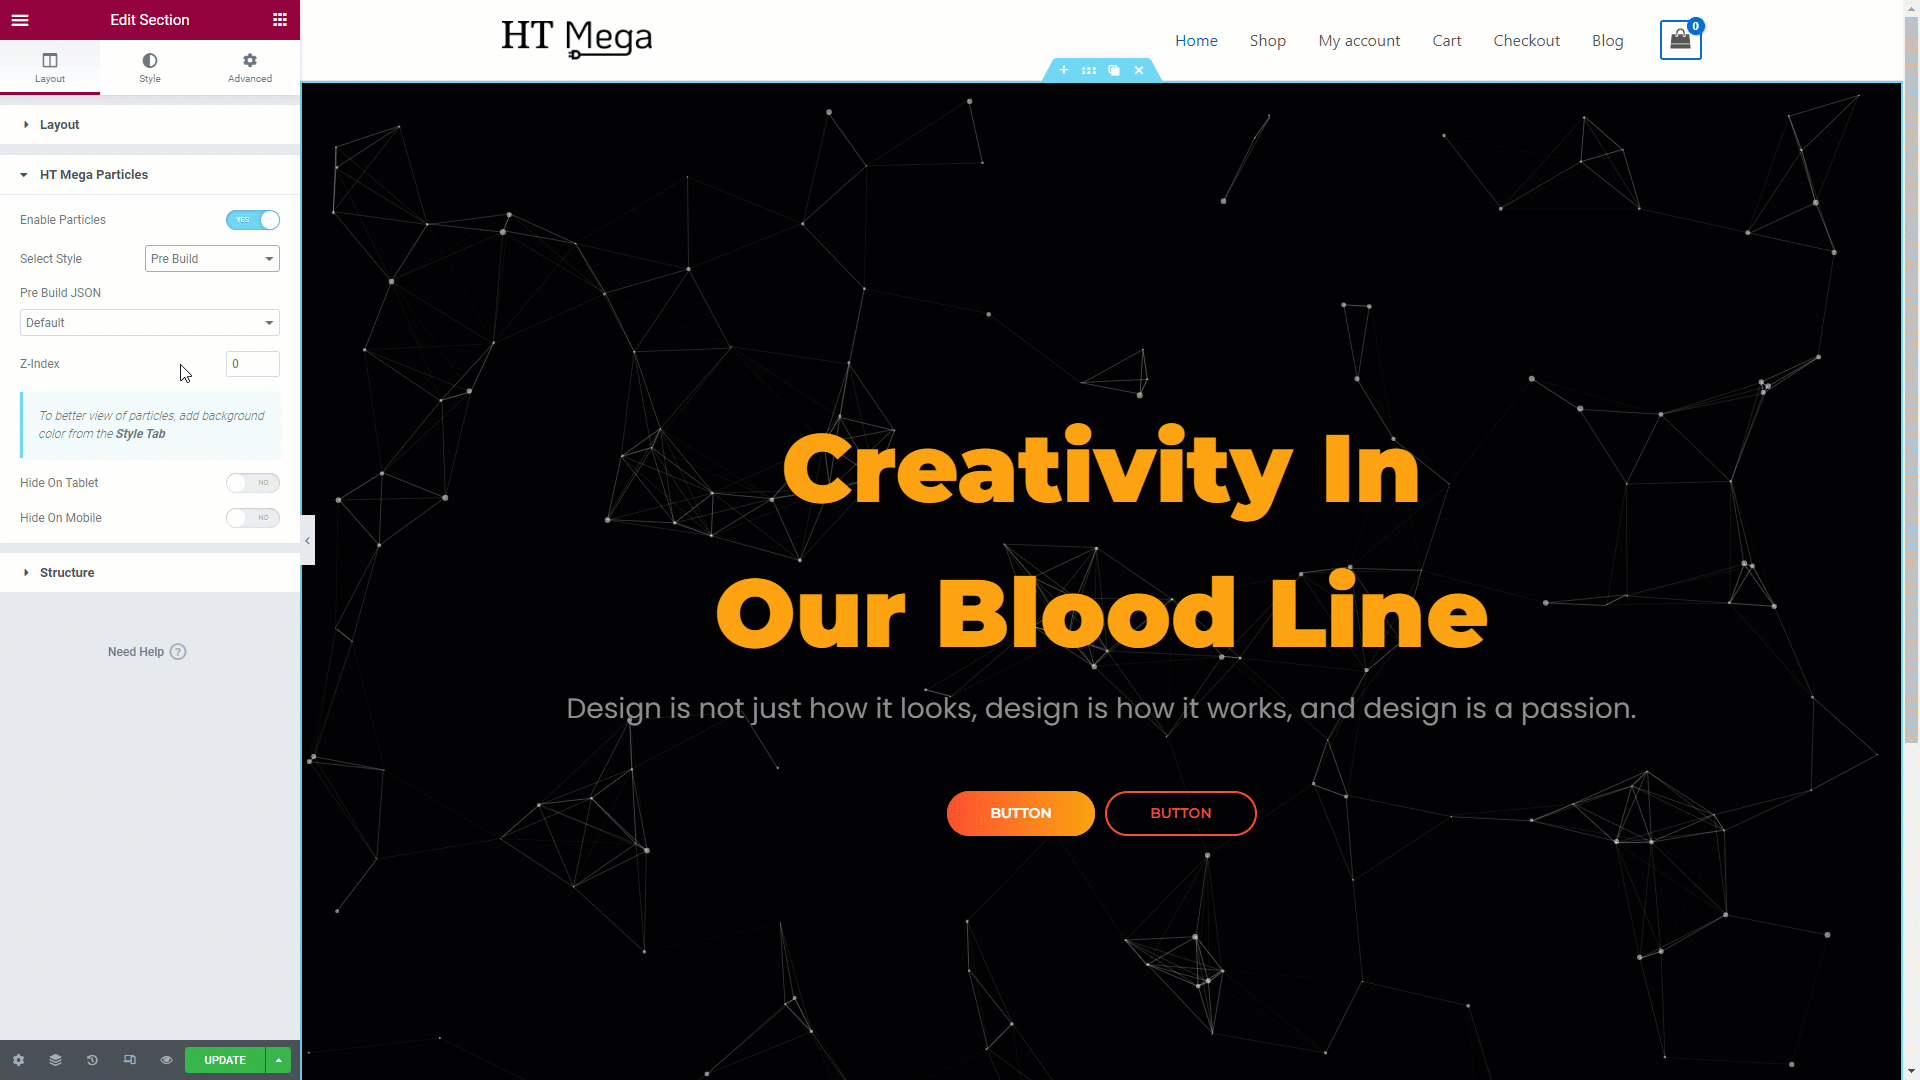
Step 3: How to customize the Particle Module?
Select Style: You can choose between a Custom or Pre Built style for your HT Mega Particle effect.

Pre Built JSON: Choose from a variety of pre-built JSON options such as Default, NASA, Bubble, Snow, or Nyan Cat to quickly add particle effects to your website using HT Mega Particle.
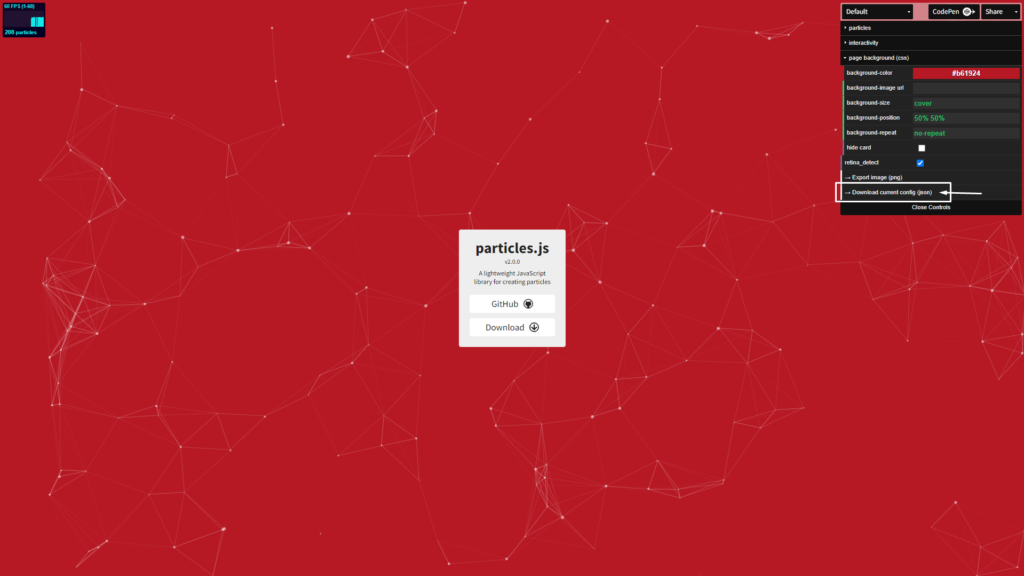
You can now create your own custom particles by visiting the provided link. Click Here
Enter Custom JSON: Paste the JSON code you copied from the downloaded file into the “Enter Custom JSON” field.

You have the option to disable the particle effects on mobile and tablet devices by selecting (Yes or No).

Was this helpful?
Good job! Please give your positive feedback
How could we improve this post? Please Help us.


